Stop Making These 7 Common Drilling Mistakes!
Drilling is an essential skill for almost any DIYer, craftsman, or professional builder. Whether you’re installing a shelf, fixing a leaky faucet, or working on a large-scale construction project, having the right tools and knowing how to use them can make or break your project. However, no matter how experienced you are, it’s easy to make mistakes when drilling, especially when you’re in a rush or not paying attention to the details.
We’re going to cover the seven most common drilling mistakes that many people make and provide tips on how to avoid them. With this information, you’ll be able to drill like a pro, saving time, money, and frustration on your next project.
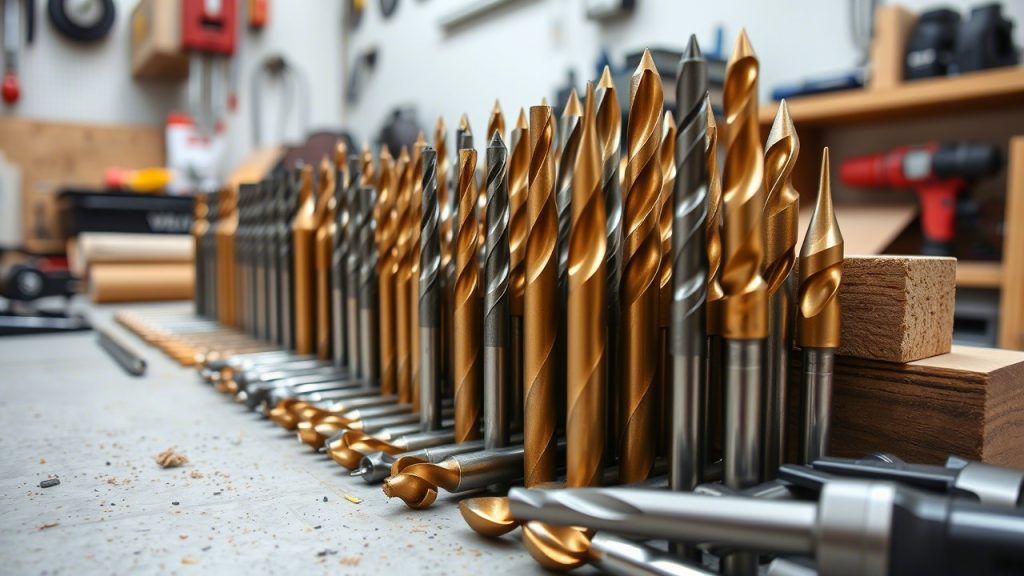
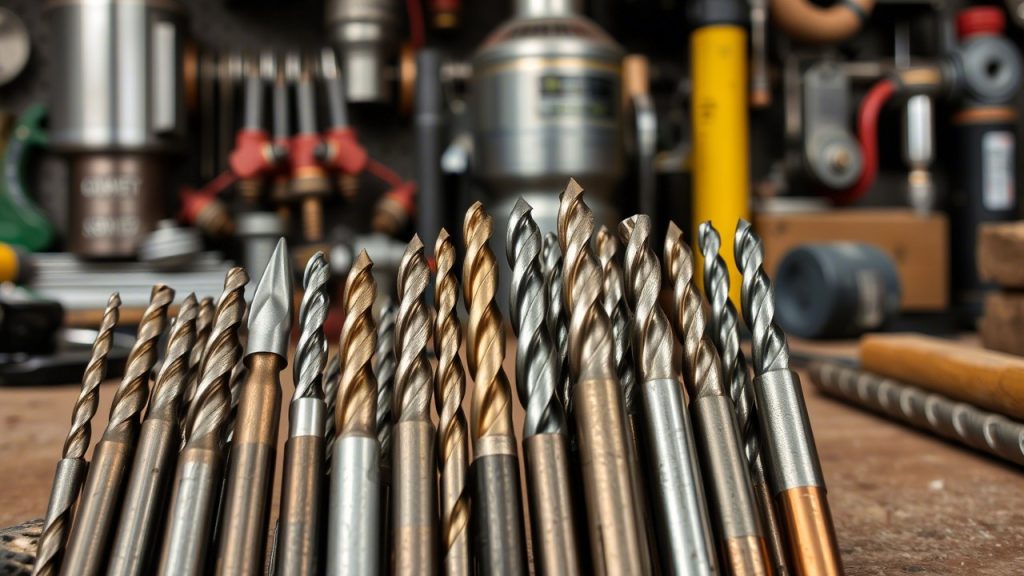
Mistake #1: Using the Wrong Drill Bit for the Job
One of the most common mistakes people make when drilling is using the wrong type of drill bit. Not all drill bits are created equal, and choosing the wrong one can make your drilling task much more difficult or even impossible.
Why This Happens:
- Different materials require different types of drill bits. For example, a wood drill bit is designed with a point that helps it grip the wood, while a masonry drill bit has a carbide tip to help it penetrate concrete or brick.
- Using the wrong drill bit can cause unnecessary wear on your drill, damage the material you’re working with, and leave you with subpar results.
How to Avoid It:
- Always select the right drill bit for the material you’re drilling. Here’s a quick guide:
- Wood: Use a wood drill bit, which is typically spade-shaped or has a pointed tip.
- Metal: Use a high-speed steel (HSS) or cobalt drill bit for metal.
- Masonry: Use a masonry drill bit with a carbide tip for concrete, brick, or stone.
- Plastic: Use a drill bit designed for plastics to avoid cracking.
Investing in a set of high-quality drill bits will make your drilling tasks easier and ensure the best results.
Mistake #2: Drilling at the Wrong Speed
Another mistake that many people make is drilling at the wrong speed. Different materials and different-sized drill bits require different speeds to achieve the best results. If you drill too fast or too slow, it can cause damage to both the material and the drill bit.
Why This Happens:
- Many people assume that drilling at full speed is the best way to get through a material quickly, but this is not always the case. Drilling too fast can cause heat buildup, which can dull your drill bit and cause it to wear out faster.
How to Avoid It:
- For wood, use a moderate speed to avoid burning the wood and dulling the drill bit.
- For metal, slow down the speed and use cutting fluid or oil to reduce heat.
- For masonry, use a slower speed and consider using a hammer drill to get through tough materials like concrete.
Remember that slower speeds often yield better results and extend the life of your tools.
Mistake #3: Not Marking Your Drill Hole Properly
Not marking your drill hole correctly can lead to crooked or misaligned holes, which can throw off your entire project. This mistake is especially critical when precision is necessary, like when you’re drilling holes for hinges, screws, or plumbing fixtures.
Why This Happens:
- People often skip the step of measuring and marking the hole because they think it’s a small task that doesn’t require much effort. However, this can lead to mistakes that are hard to fix.
How to Avoid It:
- Use a pencil, tape, or a marker to mark the spot where you want to drill.
- For more precision, use a center punch to create a small indentation at the drilling point. This helps to guide the drill bit and prevents it from slipping.
- If you’re drilling multiple holes, make sure to use a level and a square to keep everything aligned properly.
Taking a few extra minutes to mark your drill holes properly can save you from headaches down the road.

Mistake #4: Not Using the Right Drill Pressure
Applying too much or too little pressure while drilling can cause problems. If you push too hard, it can damage the material or the drill bit. On the other hand, if you don’t apply enough pressure, the drill bit won’t cut effectively, leading to slower drilling and potential overheating.
Why This Happens:
- It’s easy to get excited about drilling and start pushing too hard, especially when the drill seems to be struggling. Conversely, people may not apply enough pressure when drilling softer materials because they think the drill bit will do all the work.
How to Avoid It:
- Apply steady, moderate pressure. Let the drill bit do the work. If you’re drilling into a tougher material, go slowly and increase the pressure slightly as needed.
- If you’re drilling in wood or soft materials, keep the pressure light to avoid splitting the material.
- For metal and concrete, use firm but controlled pressure, but don’t force it.
Adjust your pressure according to the material you’re drilling and always let the drill bit do its job.
Mistake #5: Drilling Without Proper Safety Gear
Many people forget or overlook the importance of wearing safety gear when drilling. Drilling creates debris and dust that can be harmful to your eyes, ears, and lungs, especially if you’re working with materials like concrete or metal.
Why This Happens:
- Safety gear might feel like an unnecessary extra step, especially if you’re only drilling for a short amount of time. However, drilling without protection can lead to serious injuries.
How to Avoid It:
- Always wear safety glasses to protect your eyes from flying debris.
- If you’re working in a noisy environment, use ear protection to prevent hearing damage.
- When drilling into materials that create dust, like concrete or stone, wear a dust mask to avoid inhaling harmful particles.
It’s always better to be safe than sorry, so don’t skip these simple steps to protect yourself.
Mistake #6: Drilling Too Deep or Too Shallow
It’s easy to drill too deep or too shallow, especially when you’re working on a project that requires precise depth, such as when you’re drilling for screws, anchors, or dowels.
Why This Happens:
- People often focus more on the hole’s diameter rather than its depth, leading to mistakes when the depth is critical for the project.
How to Avoid It:
- Use depth stops on your drill to prevent drilling too deep. This is especially important when working with screws or dowels that require a specific depth.
- If you don’t have a depth stop, you can use masking tape wrapped around the drill bit as a visual marker to indicate how deep you want to drill.
- Always double-check your measurements before you start drilling, especially for critical tasks like drilling for wall anchors or dowels.
Being aware of the required depth for your project and using the right tools will help you avoid drilling mistakes.
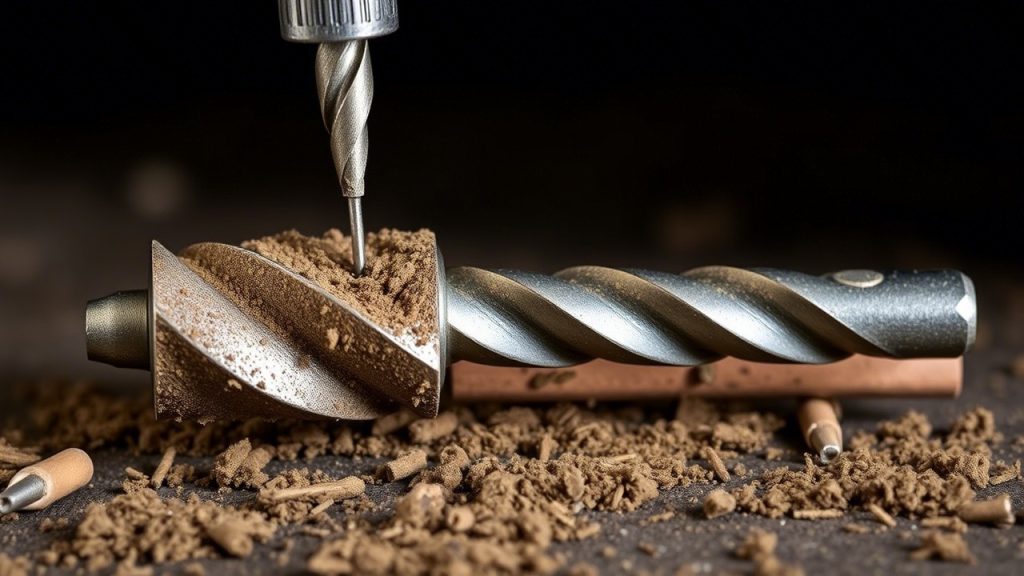
Mistake #7: Not Clearing the Drill Bit of Debris
Drilling creates a lot of debris, especially when working with wood, metal, or masonry. Many people make the mistake of continuing to drill without clearing the bit of shavings or dust, which can lead to overheating, reduced efficiency, and even damage to the material.
Why This Happens:
- People often get caught up in the drilling process and forget to stop and clear the debris. This mistake is especially common when drilling multiple holes.
How to Avoid It:
- Regularly stop and clear the drill bit of debris. For wood, blow off the dust, and for metal or masonry, remove the shavings.
- If you’re drilling a large hole, take breaks every few minutes to clean out the hole and keep the drill bit cool.
- Use a drill press if you’re working on a large, repetitive project. This helps maintain consistent pressure and allows for more control.
Keeping the drill bit clear of debris ensures that it stays effective and doesn’t overheat.
10 FAQs About Drilling
1. How do I know which drill bit to use for a particular material?
- Always match the drill bit to the material you’re working with. Use wood bits for wood, masonry bits for concrete, and HSS bits for metal. Each type of bit is designed to handle different materials.
2. Can I use a regular drill for masonry work?
- While you can use a regular drill, it’s better to use a hammer drill for masonry projects. A hammer drill provides an additional hammering motion that makes drilling into concrete, brick, and stone much easier.
3. Why does my drill bit keep getting stuck?
- If your drill bit is getting stuck, you may be applying too much pressure, drilling too fast, or using the wrong bit for the material. Check your drill settings and adjust accordingly.
4. Can I use a drill bit on metal without lubrication?
- It’s recommended to use cutting oil or another lubricant when drilling metal to reduce friction and prevent overheating. This extends the life of your drill bit and ensures a smoother cut.
5. How do I stop my drill from overheating?
- To prevent overheating, use the correct speed, apply steady pressure, and take breaks. Make sure to clear debris from the drill bit regularly to avoid excess heat buildup.
6. What should I do if my drill bit dulls?
- If your drill bit becomes dull, it can be sharpened with a drill bit sharpening tool or you can replace it with a new one. Sharpening is ideal for high-quality bits, but replacing them might be the easiest option for most people.
7. How deep should I drill for screws?
- The hole for a screw should be slightly smaller than the screw’s shaft to ensure a tight fit. The depth depends on the size of the screw, but it should match the length of the screw for optimal holding power.
8. What’s the best drill for precision work?
- A drill press is ideal for precision work because it provides a steady, controlled motion. For handheld precision, use a variable-speed drill and go slow.
9. Can I drill through tile?
- Yes, but you need a carbide-tipped drill bit and a slow speed to prevent cracking the tile. It’s also a good idea to use a bit with a diamond coating for the best results.
10. How can I drill a hole without it slipping?
- Use a center punch to create an indentation before drilling. This will help guide the drill bit and prevent it from slipping.
Conclusion
Drilling may seem like a simple task, but there are several mistakes that can compromise the quality of your work and even damage your tools or materials. By avoiding these seven common mistakes and following the tips we’ve shared, you’ll be well on your way to becoming a more efficient and accurate driller. Remember, the key to successful drilling lies in preparation, patience, and the right tools.