How to Turn Old Pants into Stylish Shorts: A Step-by-Step Guide
In the world of sustainable fashion, one of the best ways to breathe new life into your old clothing is to repurpose it. Instead of throwing away those old, worn-out pants sitting at the back of your closet, why not turn them into stylish shorts? Not only does this reduce waste, but it also gives you the opportunity to create a unique piece of clothing that perfectly fits your style.
We’ll walk you through the steps of turning old pants into shorts, provide some creative ideas to personalize your new look, and answer common questions people have about this DIY project. Whether you’re an experienced crafter or a beginner, this simple and fun project is a great way to make use of old garments while updating your wardrobe.
Why You Should Turn Old Pants into Shorts
Before diving into the “how-to,” let’s take a moment to explore why this is a great idea in the first place:
- Sustainability: Turning old pants into shorts is an environmentally friendly way to repurpose clothing. It’s a great way to reduce textile waste and contribute to a more sustainable fashion ecosystem.
- Cost-Effective: Instead of buying new shorts, you can create a new pair from pants you already own. This saves you money while giving your wardrobe a fresh upgrade.
- Personalization: You can customize the shorts to suit your style by adding embellishments like patches, embroidery, or distressing. The final product will be one-of-a-kind, something you won’t find in stores.
- Sentimental Value: Perhaps you have a pair of pants that are too worn to wear but have sentimental value. Turning them into shorts can keep the memories alive in a more functional form.
- Perfect Fit: Repurposing your old pants allows you to customize the fit and length of your shorts exactly how you want them, ensuring a more comfortable fit than some store-bought options.
Now that we’ve covered why turning pants into shorts is a great idea, let’s dive into the process!
Materials You’ll Need
Before you start cutting and crafting, make sure you have the following materials on hand:
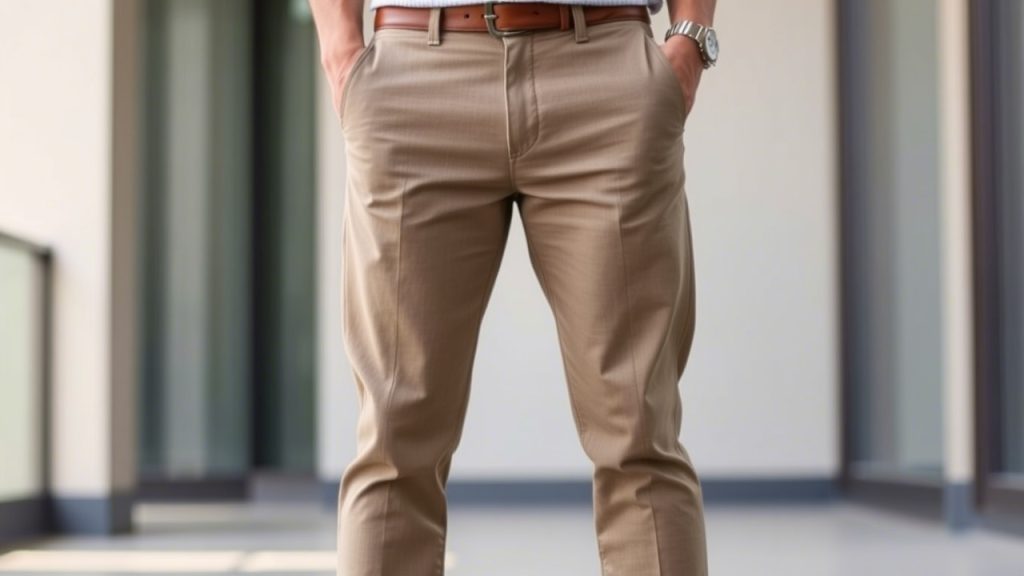
- Old pants: This could be any type of pants—denim, cargo, khakis, or even leggings—that you want to repurpose into shorts.
- Scissors: A good, sharp pair of fabric scissors is essential for clean cuts.
- Measuring tape or ruler: To ensure you cut the pants evenly and to your desired length.
- Fabric chalk or a pencil: This is used to mark the areas where you’ll be cutting.
- Needle and thread or a sewing machine: To finish the edges and make your shorts look polished. If you’re making a no-sew version, fabric glue can work as well.
- Optional embellishments: Buttons, patches, studs, fabric paint, or any decorative elements to personalize your shorts.
Step-by-Step Guide: How to Turn Old Pants into Stylish Shorts
Step 1: Choose the Right Pants
The first step in the process is selecting the right pair of pants. Ideally, you want to choose pants that are slightly worn but still in decent shape, with minimal damage to the fabric (unless you plan to distress them, of course). Pants with a straight or relaxed fit work best, but you can also repurpose skinny jeans or leggings.
Step 2: Try on the Pants
Before making any cuts, it’s important to try on the pants to decide where you want to cut them. Remember, you can always cut them shorter later, but you can’t undo the cut once it’s made. Stand in front of a mirror and mark the desired length with fabric chalk or a pencil.
- For a Casual Look: Aim for a length just above the knee, which works well for most casual settings.
- For a Trendy Look: You can go for a more daring look by cutting the pants into mid-thigh length or even make them into Bermuda shorts for a longer, laid-back style.
If you’re unsure about the length, it’s always better to start a little longer than you want. You can always trim more if necessary, but you can’t add fabric back!
Step 3: Cut the Pants
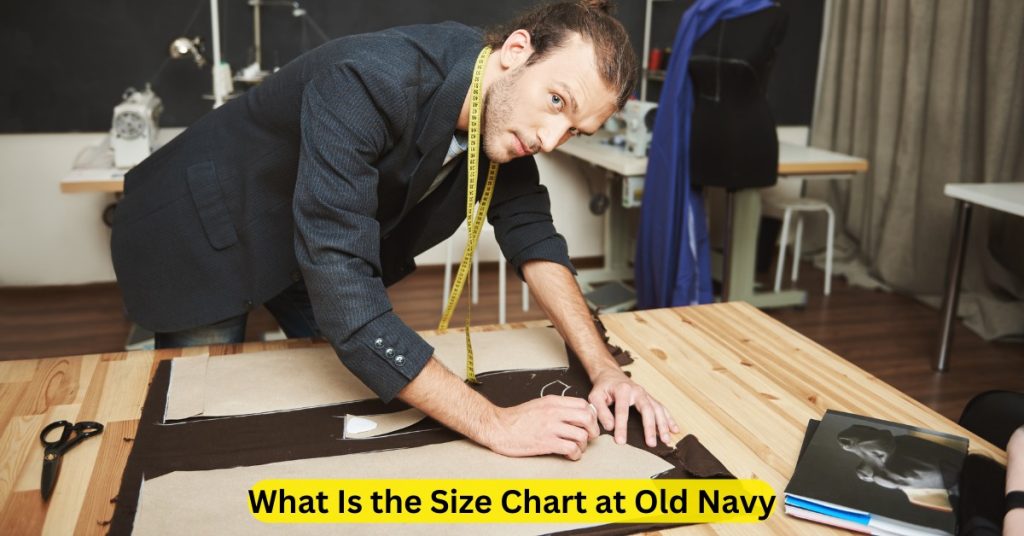
Once you’ve decided on the length, use fabric chalk to mark a straight line across the pants. Use a ruler to ensure that your line is even and straight. Then, grab your fabric scissors and carefully cut along the marked line. Take your time with this step to ensure you get a clean cut.
Step 4: Try Them On Again
After cutting the pants into shorts, try them on to check the length. This is a good time to see if you like the fit and if they’re the right length for your style. If they’re too long or too short, simply trim them a little more.
Step 5: Finish the Edges
Now that your shorts are the right length, it’s time to finish the edges so they don’t fray too much. There are several ways to do this:
- Sewing the Edges: Use a sewing machine or hand stitch a simple hem along the cut edges. This will prevent them from fraying too much while giving them a clean, polished look.
- Fraying the Edges: If you like the raw, distressed look, you can leave the edges unhemmed and allow the fabric to fray naturally. You can also use a seam ripper to gently pull on the threads to speed up the fraying process.
- Using Fabric Glue: If you’re not into sewing, fabric glue is a great alternative. Apply a thin line of glue along the cut edges and press them flat. Allow it to dry completely before wearing your new shorts.
Step 6: Add Personal Touches (Optional)
This is where the real fun begins! You can personalize your new shorts to make them your own by adding embellishments like:
- Distressing: Use sandpaper or a razor blade to distress the fabric and give your shorts a worn, vintage look.
- Patches: Sew or iron on fun patches to add personality to your shorts. You can choose patches that match your style, such as floral designs, band logos, or funny quotes.
- Embroidered Details: If you enjoy embroidery, you can add some colorful stitching to the pockets or around the hems of your shorts for a unique touch.
- Fabric Paint: If you’re feeling artistic, try using fabric paint to create custom designs or patterns on your shorts.
- Buttons and Studs: Sew on decorative buttons or studs to add an edgy look to your shorts.
These small touches can make a huge difference in the final product and give your repurposed pants a fresh, fashionable look.
Step 7: Wash and Wear
After you’ve finished adding any embellishments and ensuring the glue or stitching is dry, give your new shorts a wash to soften them up and remove any excess fabric chalk or paint. Once dry, they’re ready to be worn!
Creative Ideas for Repurposing Different Types of Pants
- Denim Jeans: Denim is one of the most popular fabrics for repurposing into shorts. You can make them trendy by adding patches, distressing them, or even using fabric paint to create unique designs. Try experimenting with a raw hem for a cool, edgy look.
- Cargo Pants: Cargo pants are perfect for creating a casual and functional pair of shorts. Consider adding side pockets or converting the cuffs at the bottom into a rolled-up detail for a more relaxed look.
- Sweatpants or Joggers: If you have old sweatpants or joggers, you can cut them into sporty shorts for lounging around the house or even casual outings. Add a drawstring or elastic at the waistband for an adjustable fit.
- Dress Pants: For a more polished look, you can convert dress pants into tailored shorts. Make sure the fabric is lightweight and breathable, and consider adding a cuff or hem for a sophisticated touch.
10 Frequently Asked Questions About Turning Pants into Shorts
- Can I turn any type of pants into shorts?
Yes, you can turn most types of pants into shorts, including jeans, chinos, cargo pants, and even sweatpants. The key is to choose pants that fit well and are made from a fabric that can handle cutting and alterations. - What is the best way to cut pants into shorts without fraying?
If you want to prevent excessive fraying, you can sew or hem the edges of the cut pants. Alternatively, use fabric glue to seal the edges if you’re not comfortable sewing. - How short should I cut my pants to make them stylish?
The length of your shorts depends on your style. Aim for a length just above the knee for a versatile look, or experiment with shorter lengths for a more trendy, fashion-forward style. - How do I distress my shorts after cutting them?
You can distress your shorts by using sandpaper, a razor blade, or a seam ripper to fray the edges. Be gentle so you don’t tear the fabric too much. - Do I need to add embellishments?
Embellishments are optional, but they can add personality and make your shorts unique. Consider adding patches, embroidery, or fabric paint to personalize your creation. - Can I turn my leggings into shorts?
Yes, you can easily convert leggings into shorts by cutting them to your desired length. You can finish the edges with a simple hem or leave them raw for a more casual look. - How can I make my shorts more fitted?
If your pants are too loose, you can take in the sides or add darts to the back of your shorts for a more tailored fit. This will give them a more flattering silhouette. - Can I use fabric glue instead of sewing?
Yes, fabric glue is a great alternative to sewing. It’s an easy and quick way to finish the edges or attach embellishments, especially if you’re not comfortable with a needle and thread. - Can I turn sweatpants into shorts?
Absolutely! Sweatpants can be turned into cozy shorts by simply cutting off the legs. Add a drawstring at the waistband for a more fitted look. - Is it necessary to wash my shorts before wearing them?
It’s a good idea to wash your shorts after you finish cutting and embellishing them to remove any fabric chalk, dust, or excess glue. This also softens the fabric, making them more comfortable to wear.
Conclusion
Turning old pants into stylish shorts is a simple and rewarding DIY project that can help you refresh your wardrobe without spending a dime. Whether you’re looking to create a casual pair of shorts for summer or experiment with adding some creative embellishments, this process allows you to repurpose your old garments into something new and fashionable. With just a pair of scissors, a little creativity, and a few personal touches, you can transform your old pants into your new favorite pair of shorts!


