How to Tailor Your Pants at Home for a Perfect Fit
Pants that fit well can make a world of difference in both your comfort and your style. However, finding the perfect pair of pants in stores is no easy feat. Often, we end up with pants that are too long, too tight, or simply don’t fit as we would like them to. Instead of sending your pants off to a tailor or buying a new pair, why not try tailoring them at home for a perfect fit? It’s easier than you might think, and with a little patience and the right tools, you can save time and money while creating a pair of pants that fits your body perfectly.
We will walk you through everything you need to know about tailoring your pants at home. From shortening the length to adjusting the waist, we’ll cover a range of alterations you can make yourself. Additionally, we’ll provide helpful tips, step-by-step instructions, and common mistakes to avoid to ensure your pants fit like a dream.
Why Tailor Your Pants at Home?
Tailoring your pants at home is a great way to ensure that your clothing fits your body perfectly. Off-the-rack pants are often designed to fit the average body type, which means they might not fit you exactly as you want. Here are a few reasons why tailoring your pants at home is a great option:
- Cost-Effective: Taking your pants to a professional tailor can be expensive. By doing it yourself, you can save money and still achieve a custom fit.
- Convenience: You can tailor your pants whenever you have time, without waiting for a tailor’s appointment or taking them to the shop. If you’re in a rush, you can easily make quick fixes at home.
- Personalized Fit: If you’re looking for a more personalized fit that isn’t available in stores, altering your pants at home allows you to make adjustments according to your body type and preferences. Whether it’s the length, waist, or legs, you can ensure the perfect fit that matches your style.
- Satisfaction: There’s a certain sense of accomplishment that comes with altering your clothes yourself. It’s a great way to feel more connected to your wardrobe and your personal style.
Tools You’ll Need for Tailoring Pants
Before you begin tailoring your pants, it’s important to gather all the necessary tools. The following items will make the process easier and more efficient:
- Measuring Tape: Essential for precise measurements to ensure accurate alterations.
- Pins: To hold fabric in place while you mark or sew.
- Scissors: For cutting fabric or trimming any excess material.
- Needle and Thread: For hand-sewing minor adjustments or stitching hems.
- Sewing Machine (optional): If you prefer a more efficient, professional finish for tasks like hemming or tapering.
- Iron: To press seams flat for a clean, polished look.
- Chalk or Fabric Marker: To mark measurements and alterations on the fabric before cutting or stitching.
- Seam Ripper: To undo any previous stitching in case of mistakes.
- Straight Pins or Fabric Clips: To secure the fabric while working.
How to Tailor Pants: A Step-by-Step Guide
Now that you have all the necessary tools, let’s dive into the process of tailoring your pants at home. We will cover several common alterations that can help you achieve the perfect fit.
3.1. Shortening Pants (Hemming)
One of the most common pant alterations is shortening the length, also known as hemming. Whether your pants are too long or you simply want to update your look with a shorter hem, hemming is a quick and easy fix.
Step-by-Step Instructions for Hemming:
- Put on the Pants: Wear the pants with the shoes you plan on wearing them with. This ensures you get the perfect length for the full look.
- Measure the Desired Length: Using a measuring tape, decide where you want the hem to fall. For a clean look, it’s common to leave about 1 to 2 inches of fabric above the floor (this can vary based on personal preference and shoe height).
- Mark the Hem: Pin the fabric where you plan to cut it. Make sure the pins are secure and evenly spaced. Use chalk or fabric marker to mark a line where the hem will end.
- Cut the Excess Fabric: Once you’re satisfied with the measurement, use scissors to cut the excess fabric from the bottom of the pants.
- Press the Hem: Iron the edge where you’ll be folding the hem to make it easier to work with.
- Fold and Sew: Fold the bottom edge up by the desired amount (typically 1 to 2 inches) and sew it in place using a sewing machine or hand-sewing. For a neater finish, use a blind stitch.
- Finish with a Final Press: Once the hem is sewn, give it one final press with the iron for a clean, professional finish.
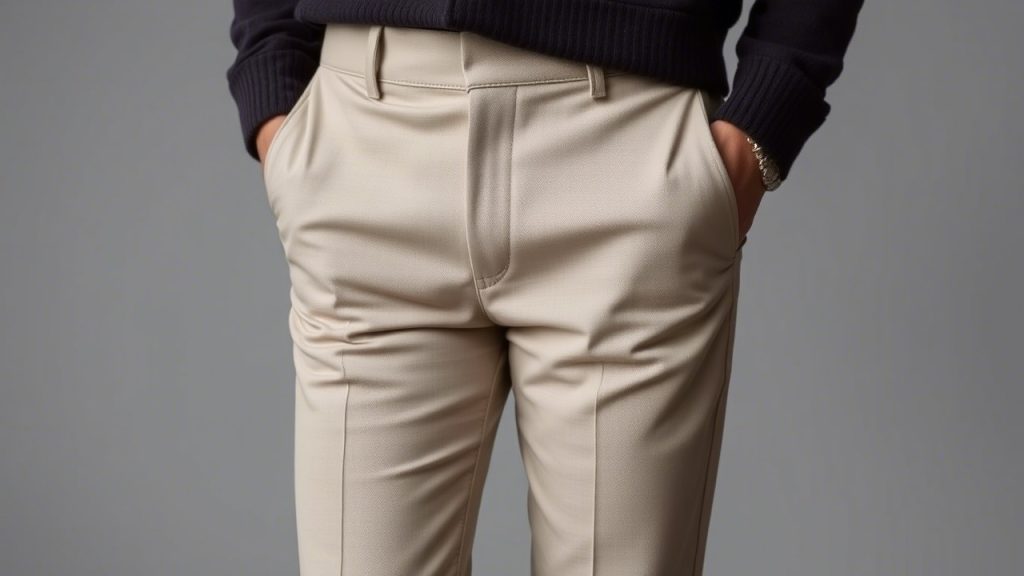
3.2. Taking In or Letting Out the Waist
Sometimes, your pants might feel a bit too loose or too tight around the waist. Whether you’ve lost weight or need more room for comfort, adjusting the waist can be a quick fix.
Step-by-Step Instructions for Taking in or Letting Out the Waist:
- Try on the Pants: Wear the pants and determine whether they’re too tight or too loose around your waist.
- Mark the New Waistline: Use chalk or a fabric marker to draw a line where you’d like the waist to end.
- Pin the Waist: Pin the fabric where you want to take in or let out the waist. For taking in, you’ll pin the excess fabric at the side seams or back seams. For letting out, you may need to remove the stitching first.
- Sew Along the Line: For taking in the waist, sew along the pinned line to remove the excess fabric. For letting out, sew along the new marked line after unpicking the previous stitching.
- Press the Seams: Once you’ve finished sewing, press the seams flat for a cleaner look.
3.3. Adjusting the Rise
The rise refers to the distance between the crotch and the waistband. If your pants feel too low or too high on your waist, adjusting the rise can help.
Step-by-Step Instructions for Adjusting the Rise:
- Determine the Ideal Rise: Try on your pants and decide how much you want to adjust the rise. If the rise feels too low, you might need to add extra fabric to the waistband. If it’s too high, you may need to remove some fabric.
- Unpick the Waistband: Using a seam ripper, carefully remove the waistband stitching.
- Alter the Rise: Depending on your needs, you can either add extra fabric to extend the rise or remove fabric to lower it.
- Reattach the Waistband: Once the rise has been adjusted, reattach the waistband by sewing it back onto the pants.
- Press the Seams: Press the waistband and seams to set the alterations.
3.4. Tapering the Legs
Tapering is the process of slimming down the pants to fit more closely to your legs. This is particularly useful for pants that have a baggy or straight-leg fit and can help modernize the look.
Step-by-Step Instructions for Tapering:
- Mark the Desired Taper: Put on the pants and mark the line where you want the pants to taper. Start from the knee down, gradually slimming the legs toward the ankle.
- Pin the New Shape: Pin along the marked line, making sure the pins are securely placed to hold the fabric in place.
- Sew Along the Line: Sew along the pinned line, making sure to taper evenly on both sides of the pant leg.
- Trim the Excess Fabric: Once the tapering is sewn, trim any excess fabric, leaving a small seam allowance.
- Press the Seams: Iron the seams to ensure the tapered look is neat and crisp.
Common Mistakes to Avoid When Tailoring Pants
- Not Measuring Twice: Always double-check your measurements before cutting or sewing. A small mistake can lead to major alterations later.
- Ignoring the Fit: It’s important to ensure that the pants fit comfortably before making any adjustments. Don’t try to take in too much or let out too little.
- Cutting Too Much Fabric: You can always trim more fabric if needed, but once it’s cut, you can’t put it back. Be conservative when cutting fabric, especially when hemming.
- Not Using the Right Tools: Using improper tools, like dull scissors or mismatched thread, can cause uneven cuts or weak seams. Make sure your tools are appropriate for the task.
Tips for Tailoring Pants Like a Pro
- Use a Tailoring Dummy: If you have one, a dress form can help you see the fit of the pants from all angles.
- Be Patient: Tailoring your pants takes time. Don’t rush through the process—take your time to make sure everything is perfect.
- Practice First: If you’re new to tailoring, practice on an old pair of pants before altering your favorite pair.
How to Tailor Pants Without a Sewing Machine
If you don’t have a sewing machine, don’t worry! You can still tailor your pants by hand. The process is a bit slower, but the result can still be neat and professional-looking. Use a simple running stitch or a whip stitch to secure the fabric.
When to Seek Professional Help
Although tailoring your pants at home can save time and money, there are instances where it’s better to seek professional help. If the alterations require complex changes (like redoing the entire crotch area or altering the entire silhouette), it might be best to leave it to the experts.
Frequently Asked Questions
- How much does it cost to tailor pants?
The cost depends on the complexity of the alterations and the tailor’s rates. Basic hemming may cost between $10 and $20, while more involved alterations (like taking in the waist or tapering) may cost $20 to $50. - Can I shorten my pants without sewing?
Yes! You can use fabric glue or iron-on hem tape for a temporary solution, but these methods may not be as durable as sewing. - How do I know if my pants are too long or too short?
A good rule of thumb is to ensure that the hem of the pants rests just above the ground when you’re standing upright and wearing shoes. - Can I adjust the rise of my pants?
Yes, you can either extend or shorten the rise, but it involves removing and reattaching the waistband, which can be tricky. - What if I make a mistake?
Don’t panic! If you make a mistake, you can always undo your stitching using a seam ripper and start over. - Can I taper pants that are made of stretchy fabric?
Yes, stretchy fabrics can be tapered, but be sure to use a stretch needle and stretch thread to maintain the fabric’s elasticity. - Can I shorten pants without losing the original hem?
Yes, you can shorten pants while keeping the original hem by simply folding up the pants and sewing them in place. - What is the best way to press my pants after tailoring?
Use an iron set to the appropriate fabric setting (usually medium heat) and press the seams flat with steam for a crisp finish. - How can I tell if my pants need to be tapered?
If your pants feel too wide around the legs or ankles, they may need to be tapered for a more modern, streamlined look. - Can I tailor any type of pants?
Most pants can be tailored, but the ease of alterations depends on the fabric and construction. Denim, chinos, and dress pants are commonly tailored, while fabrics like leather may be more challenging.
Conclusion
Tailoring your pants at home for a perfect fit is a practical and rewarding skill that can save you money and improve your wardrobe. By following the steps outlined in this guide, you can make a variety of alterations, from hemming to adjusting the waist and even tapering the legs. With a little patience and the right tools, you can create a wardrobe full of perfectly fitting pants that suit your style and comfort.
Now that you know the ins and outs of tailoring pants, go ahead and try it yourself! Whether you’re shortening a pair of jeans or taking in a dress pant waist, tailoring your pants at home gives you the freedom to wear clothes that truly fit your body.