Drill Like a Pro! 8 Expert Tips for Perfect Results Every Time!
Whether you’re hanging a picture frame, assembling furniture, or working on a major home renovation, the drill is undoubtedly one of the most crucial tools in your DIY toolkit. But while drills are versatile and easy to use, achieving perfect results every time requires more than just pointing and shooting. To truly drill like a pro, you need to master a few key techniques, understand the nuances of your drill, and know how to approach different materials. In this guide, we will share 8 expert tips to help you achieve flawless results on every drilling task, no matter how big or small.
By incorporating these professional drilling techniques into your workflow, you’ll not only improve the precision and quality of your work but also reduce the chance of errors and frustration. So, let’s dive into these 8 expert tips that will elevate your drilling game and ensure that every hole you drill is perfectly executed!
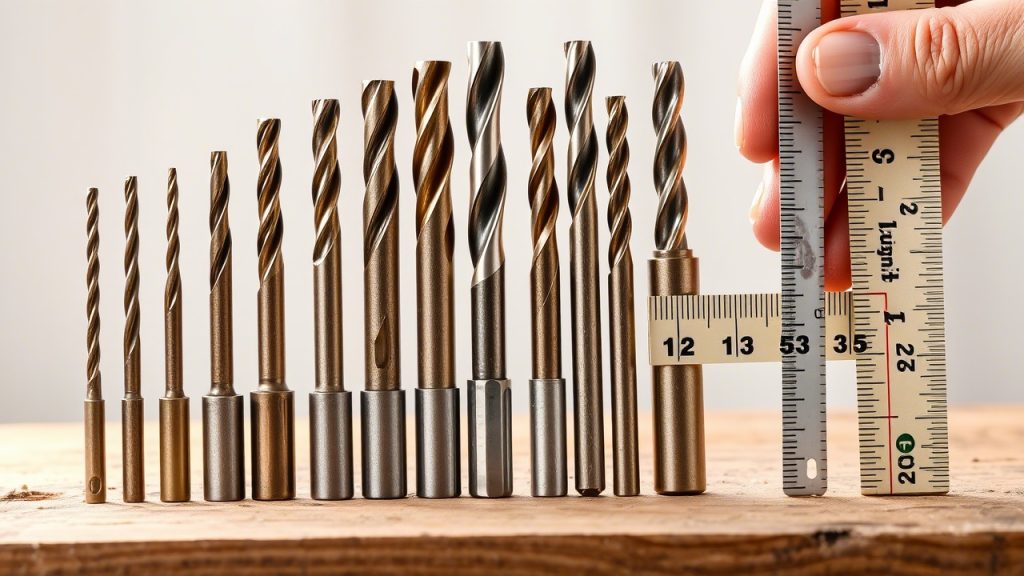
1. Choose the Right Drill Bit for the Job
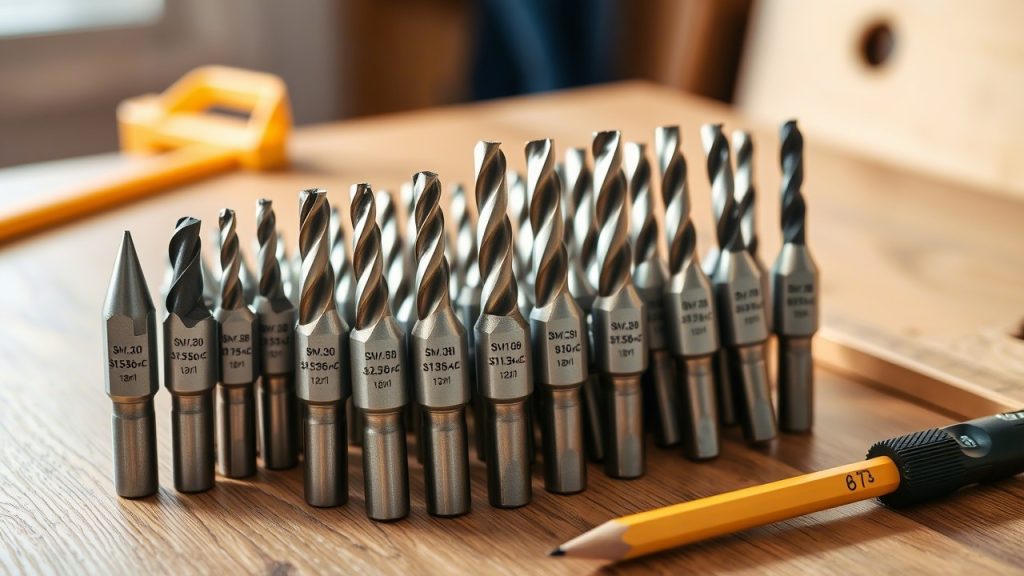
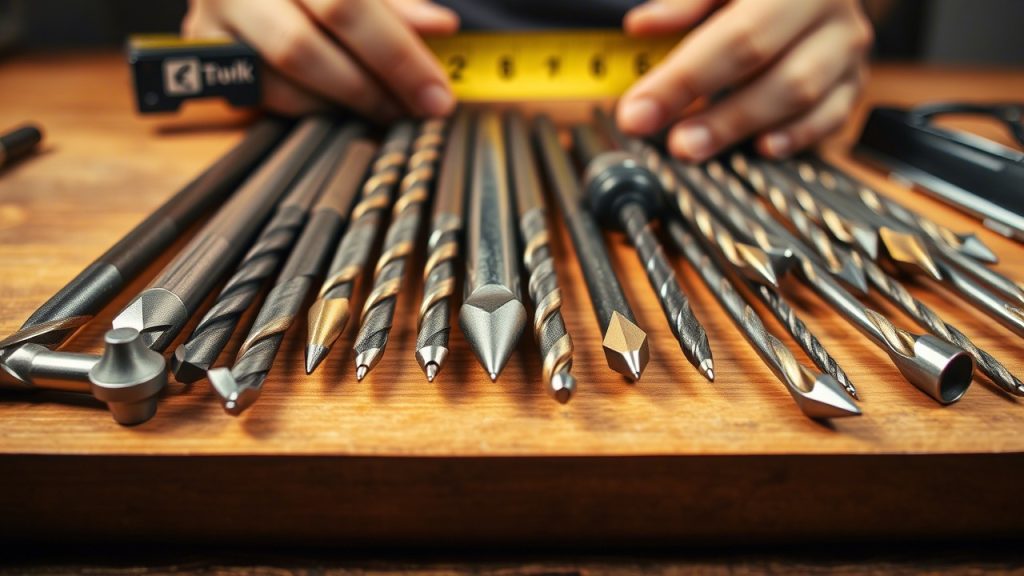
One of the most important aspects of drilling is choosing the right drill bit for the material you’re working with. Using the wrong drill bit can cause the drill to become stuck, damage the material, or result in rough, uneven holes. Here’s a breakdown of the most common drill bits and when to use them:
Common Drill Bits:
- Twist Drill Bits: These are the most common and versatile drill bits. They’re ideal for wood, plastic, and metal.
- Brad Point Bits: Designed for wood, brad point bits feature a sharp center point that helps to keep the bit from wandering. This ensures precise, clean holes.
- Masonry Bits: These bits are designed for drilling into harder materials like concrete, brick, or stone. They have a carbide tip to withstand the harsh conditions of masonry.
- Spade Bits: These are great for drilling larger holes in wood. They feature a flat blade and are perfect for rough, fast drilling.
- Forstner Bits: Ideal for drilling flat-bottomed holes in wood, especially when precision is needed for dowels or hinge installation.
Pro Tip:
Always check the material type and hole size before starting. For example, if you’re drilling into concrete, don’t use a regular twist bit. Use a masonry drill bit instead. Using the right drill bit will make your task much easier and the results much cleaner.
2. Use the Right Speed and Torque Settings
Modern drills come with a range of settings that allow you to control the speed and torque, giving you greater flexibility and precision. Understanding how to adjust these settings according to the material and task at hand can significantly improve the outcome of your project.
Speed Settings:
- Low Speed (500-800 RPM): Ideal for driving screws or drilling into softer materials like drywall, softwood, or plastics.
- High Speed (1200-2000 RPM): Best for drilling into softer materials like wood and plastic. It allows for faster, more efficient drilling.
Torque Settings:
The torque setting controls the force the drill applies to the material. Adjusting it ensures you don’t overdrive or strip screws and helps prevent damage to your drill bit.
- Low Torque: Use for delicate tasks or when driving small screws into softwood.
- High Torque: Use when drilling into hard materials or driving larger screws into tougher surfaces like hardwood or metal.
Pro Tip:
Always start with lower settings, then gradually increase the speed or torque depending on the material and task. This will give you more control over the drilling process, ensuring a cleaner hole and reducing the risk of mistakes.
3. Pre-Drill Pilot Holes for Accuracy
If you want to achieve precise, professional results, it’s essential to pre-drill pilot holes before driving screws or drilling into harder materials. A pilot hole serves as a guide, allowing you to drill straight and accurate holes while minimizing the risk of material cracking or splitting.
Why Pre-Drill?
- Prevents Splitting: For materials like wood, pre-drilling a hole reduces the chance of the material splitting when you drive screws.
- Improves Accuracy: A pilot hole ensures that screws are driven straight and at the correct depth.
- Protects the Material: Especially important for tiles or delicate materials, pilot holes help prevent cracking or chipping.
Pro Tip:
Choose a drill bit that is slightly smaller than the screw diameter when creating a pilot hole. This ensures that the screw will hold firmly without damaging the material.
4. Drill Straight, Not Off-Center
Drilling a hole that’s slightly off-center can throw off the entire project, causing everything from uneven joints to misaligned holes. To ensure that your drill is perfectly aligned, there are a few steps you can take.
How to Drill Straight:
- Use a Drill Guide: A drill guide is a tool that helps you keep your drill bit aligned while drilling, ensuring straight and accurate holes. This is especially helpful when drilling at a specific angle or depth.
- Use a Spirit Level: When drilling vertically or horizontally, use a spirit level to check that the drill is perfectly perpendicular to the surface.
- Pre-Drill a Guide Hole: If you’re drilling into wood or drywall, mark the spot and drill a small pilot hole first. This gives your larger drill bit something to grab onto, preventing it from wandering.
Pro Tip:
For even more accuracy, clamp your workpiece securely before drilling. This prevents movement that could throw off your alignment.
5. Apply Consistent Pressure (But Not Too Much)
While it might be tempting to push hard on the drill to speed up the process, applying too much pressure can lead to damaging the material, overheating the drill bit, or causing the drill to wander off-course. To drill like a pro, aim for a consistent and moderate amount of pressure.
How Much Pressure is Enough?
- When drilling through softer materials like wood, apply a steady, moderate amount of pressure. Let the drill do the work.
- For tougher materials like metal or masonry, you may need to apply a bit more pressure, but it should still be consistent.
- If the drill bit starts to feel stuck, stop and clear the hole before continuing. This will reduce friction and help prevent the bit from overheating.
Pro Tip:
If you’re working with a harder material, try drilling at a slower speed to prevent the bit from overheating, especially for materials like metal or concrete.
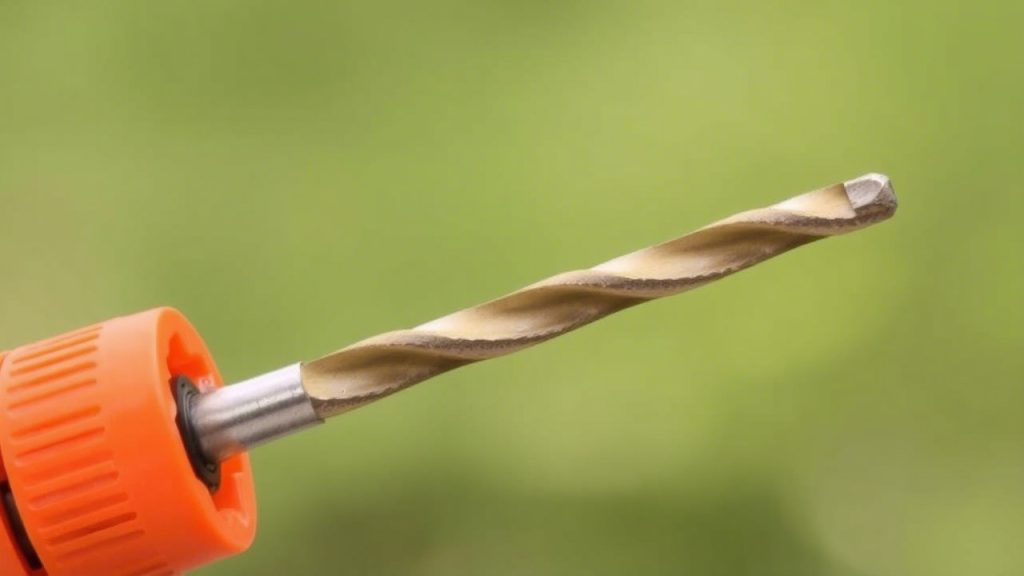
6. Keep Your Drill Bits Cool
When drilling into harder materials, friction between the drill bit and the surface generates heat. Excessive heat can quickly dull or even break your drill bit. To avoid this, keep your drill bits cool by using lubrication or taking frequent breaks.
Tips for Keeping Bits Cool:
- Use Lubricant: For metal, apply a cutting oil to the drill bit to reduce heat and friction. This will help maintain the bit’s sharpness.
- Pause and Rest: If you’re drilling through thick or tough materials, periodically stop and let the bit cool down.
- Drill at Low Speed: For harder materials, use a slower speed to generate less heat and prolong the life of your drill bit.
Pro Tip:
If you’re drilling into masonry, make sure to use a masonry bit designed for concrete, brick, and stone. These bits are specifically designed to handle high heat without losing their effectiveness.
7. Use the Right Angle When Drilling
Sometimes, drilling at an incorrect angle can lead to inaccurate holes or structural problems. Whether you’re working on furniture or drilling into walls, maintaining the right angle is essential for a professional finish.
How to Drill at the Right Angle:
- 90-Degree Angle: When drilling vertically, aim for a 90-degree angle to ensure your hole is straight and your screws or dowels fit properly.
- Use a Drill Guide: For angled drilling, use a drill guide to ensure consistent and accurate angle alignment.
- Check Your Alignment: Periodically check the angle with a spirit level or a protractor to make sure you’re staying on track.
Pro Tip:
For angled drilling (for example, drilling holes in dowels), use a doweling jigsaw or an angle jig to maintain precise alignment throughout the process.
8. Maintain Your Drill for Longevity
A well-maintained drill will work more efficiently, last longer, and give you better results. Regular maintenance ensures that your tool stays in good working order and performs at its best for every project.
Drill Maintenance Tips:
- Clean the Chuck: Regularly clean the chuck of your drill to remove dust and debris, which can interfere with its ability to securely hold the drill bit.
- Lubricate Moving Parts: Apply light oil to moving parts, such as the chuck and the drill’s trigger mechanism, to prevent rust and improve operation.
- Inspect for Wear: Check your drill bits for dullness or damage, and replace them as needed. Dull bits can slow down the process and lead to poor results.
Pro Tip:
If you’re using a cordless drill, be sure to keep the battery charged and store it in a cool, dry place to prevent damage and ensure it operates efficiently.
10 FAQs About Drilling Like a Pro
1. What is the best drill for home use?
- A cordless drill is the most versatile and convenient option for DIYers, allowing you to tackle a variety of tasks without being tethered to an outlet.
2. How do I choose the right drill bit?
- Match the drill bit to the material you’re working with. For example, use a twist drill bit for wood, masonry bits for concrete, and cobalt bits for metal.
3. How can I avoid cracking when drilling into tile?
- Use a diamond or carbide-tipped bit, drill slowly, and keep the drill bit cool with water or lubrication to avoid cracking.
4. Why is my drill bit smoking?
- Smoking usually indicates that the drill bit is overheating. This can be caused by drilling too fast, applying too much pressure, or not using cutting oil.
5. How do I drill through brick or concrete?
- Use a hammer drill with a masonry bit for efficient drilling through brick and concrete.
6. Can I use my drill for sanding or polishing?
- Yes! You can attach a sanding pad or polishing attachment to your drill for sanding wood, metal, or polishing surfaces.
7. Should I drill before or after installing hardware?
- It’s usually better to pre-drill pilot holes before installing hardware, especially for screws and dowels, to ensure a clean fit.
8. How do I prevent a drill from wandering off-center?
- Use a pilot hole or a drill guide to keep the drill bit aligned and prevent it from wandering off course.
9. What’s the best way to drill in hard materials?
- Use a slow speed and apply steady pressure while drilling, and always use a bit that’s designed for hard materials, like a masonry or cobalt bit.
10. How can I prolong the life of my drill bits?
- Always use the correct drill bit for the job, keep them clean, cool, and sharp, and store them in a dry place to prevent rust and wear.
Conclusion
Drilling like a pro isn’t just about having the right tools; it’s about using those tools effectively and understanding the nuances of the process. By following these 8 expert tips, you’ll be able to achieve perfect results every time, whether you’re drilling holes for screws, dowels, or other materials. From choosing the right drill bit and adjusting your speed and torque settings, to mastering techniques like pre-drilling and maintaining your drill, these tips will help you take your DIY skills to the next level.
With practice and attention to detail, you’ll become a true drill expert, capable of tackling any project with precision and confidence. So, next time you pick up your drill, remember these professional tips, and you’ll be drilling like a pro in no time!