DIYers, You NEED These 10 Drill Tips!
For any DIY enthusiast, a drill is arguably the most essential tool in your arsenal. Whether you’re hanging shelves, assembling furniture, drilling holes in walls, or tackling a home improvement project, a drill is likely the first tool you reach for. However, to truly harness the full potential of this versatile tool, it’s important to understand not just how to use it, but how to use it effectively and efficiently. That’s why, in this guide, we’ve compiled the top 10 drill tips every DIYer needs to know to elevate their skills and make every project easier and more successful.
Whether you’re a novice or a seasoned pro, these tips will help you optimize your drill’s performance, increase your precision, and ultimately, save time and effort on your DIY projects. So, grab your drill and let’s dive into these game-changing tips that will make you a drill master!
1. Choose the Right Drill Bit for the Job
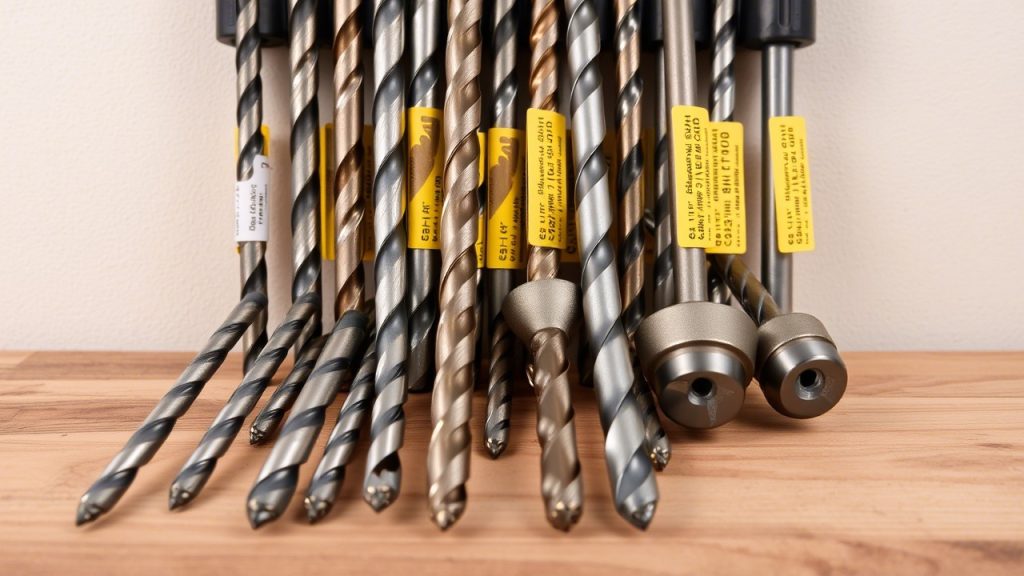
One of the most common mistakes DIYers make is using the wrong drill bit for the task at hand. Each material requires a specific type of drill bit to ensure the job is done effectively and safely. Understanding the different types of drill bits and when to use them is crucial for a successful project.
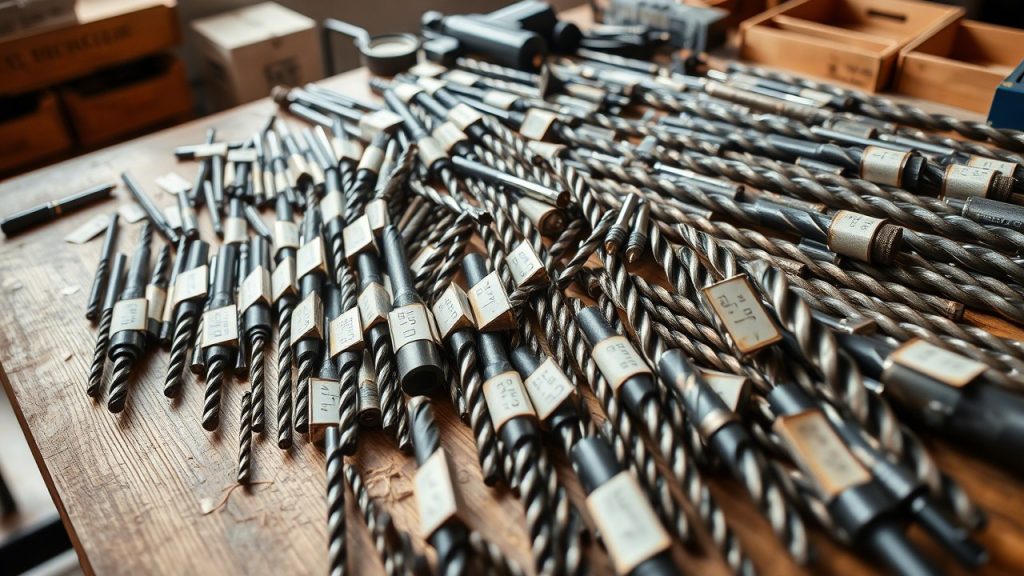
Common Drill Bit Types:
- Twist Drill Bits: These are the most versatile and commonly used bits. They are designed for wood, plastic, and metal. A high-speed steel (HSS) twist drill bit is perfect for drilling through softer materials.
- Brad Point Bits: Ideal for drilling into wood. They feature a sharp point at the tip that helps to prevent the bit from wandering, ensuring clean and accurate holes.
- Masonry Bits: These bits are made specifically for drilling into brick, stone, or concrete. They have a carbide tip and can withstand the harsh conditions of masonry work.
- Forstner Bits: Perfect for creating flat-bottomed holes in wood, particularly when you need to drill precise, large-diameter holes.
- Spade Bits: These bits are designed for fast, rough drilling in wood, often used for larger diameter holes.
Tip: Before starting your project, make sure you select the correct bit for the material you are drilling. This will save you time, prevent frustration, and protect both your drill and bits from damage.
2. Master the Speed Control for Precision
Many drills come with variable speed control, and learning how to use this feature will make a significant difference in your work. By adjusting the speed, you can control the amount of force applied to your material and achieve better results.
Speed Tips:
- Low Speed (500-800 RPM): Ideal for driving screws or drilling into delicate materials like drywall, softwood, or plastics.
- High Speed (1200-2000 RPM): Best for drilling into softer materials like wood or plastic. Higher speeds help you drill faster and more efficiently.
If you’re drilling into hard surfaces or using a larger bit, it’s always better to start at a slower speed and gradually increase the RPM to avoid damaging the material or the drill bit.
Tip: Always start at a low speed and increase gradually if necessary. This will give you better control, especially when working with fragile materials or precision tasks.
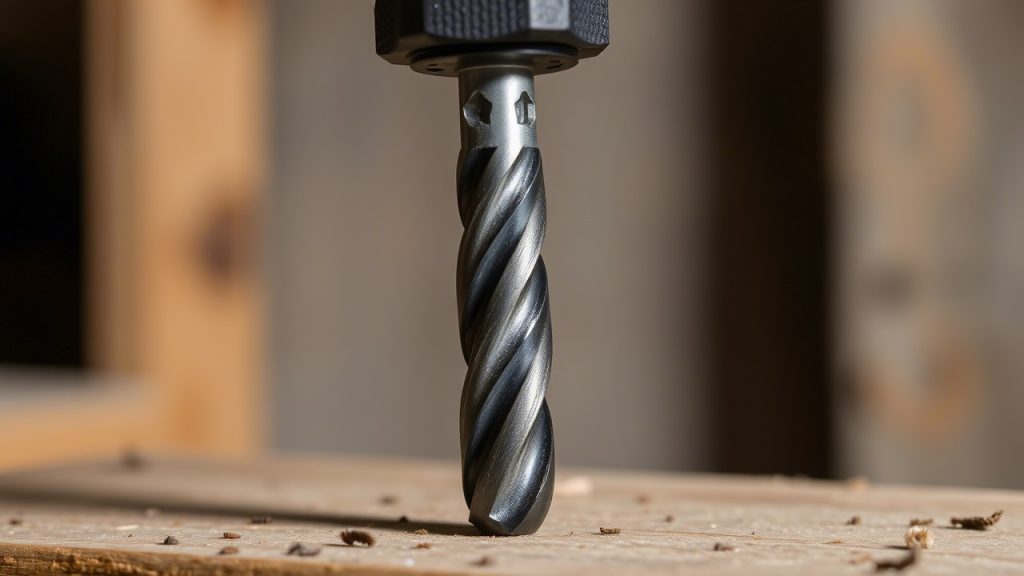
3. Use the Right Amount of Pressure
It’s easy to get impatient and apply too much pressure when drilling, especially when you’re eager to finish the task. However, applying excessive pressure can not only damage your drill but also lead to inaccurate holes or even broken drill bits.
How to Apply the Right Pressure:
- For most tasks, a light and consistent pressure is ideal. Allow the drill bit to do the work, and don’t force it through the material.
- When drilling into hard materials like metal or masonry, a bit more pressure may be required, but even then, it’s best to let the tool and bit take the lead.
- For softwood and other easy-to-drill materials, applying gentle pressure is key to achieving clean, precise holes.
Tip: If you find the bit struggling or binding, stop and check if it’s dull or if you’re applying too much pressure. Let the drill cool down before continuing.
4. Pre-Drill Pilot Holes for Accuracy
When working with certain materials, particularly hardwood or materials prone to cracking like tile, pre-drilling a pilot hole is essential for ensuring accuracy and preventing damage to the material.
Why Pilot Holes are Important:
- Pilot holes guide screws and prevent them from splitting the wood or cracking the material.
- A pilot hole helps to prevent the drill bit from wandering when you start drilling, ensuring that you drill exactly where you need.
- Pre-drilling is especially important when installing screws that require a tight fit.
Tip: Use a smaller drill bit to create a pilot hole and then increase the size based on the screw or anchor you are using.
5. Use a Clutch for Consistent Torque
If your drill has an adjustable clutch, make sure to use it. The clutch adjusts the torque (rotational force) that is applied, allowing you to drive screws or drill without stripping the screw head or overdriving the screw.
How to Use the Clutch:
- Set the clutch to a low setting when driving screws into softer materials or when you want to prevent driving the screw too deep.
- Increase the clutch setting when drilling into tougher materials like hardwood or metal to get more torque and avoid stalling the drill.
Tip: The clutch is especially useful when you need to drive screws at a consistent depth, such as when attaching hinges or assembling furniture.
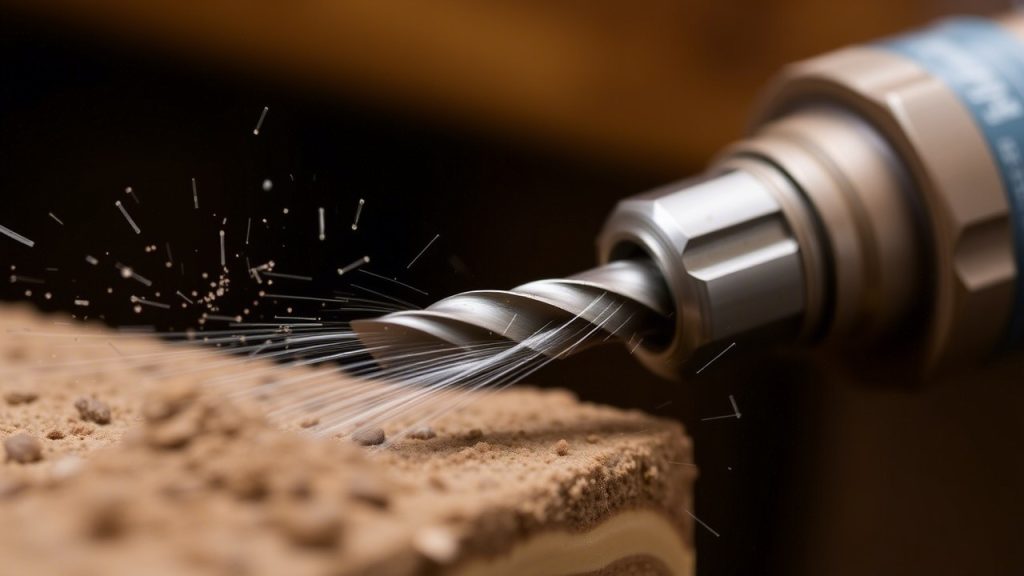
6. Keep Your Drill Bit Cool
Heat is one of the biggest enemies of your drill bits. When drilling into tough materials like metal, the friction created can generate a lot of heat, which dulls the drill bit quickly. To prolong the life of your bits and improve your results, always keep them cool.
Tips to Keep Drill Bits Cool:
- Lubrication: Use cutting oil when drilling into metal. This will help reduce friction and keep the bit cool.
- Pause and Cool Down: If you’re drilling a lot of holes or working with tough materials, take breaks to let the bit cool down. This will help maintain its sharpness.
- Use a Slower Speed: When drilling metal or other hard materials, a slower speed can help reduce the heat generated.
Tip: Keeping your drill bit cool is key to prolonging its life, preventing damage to the material, and ensuring more efficient drilling.
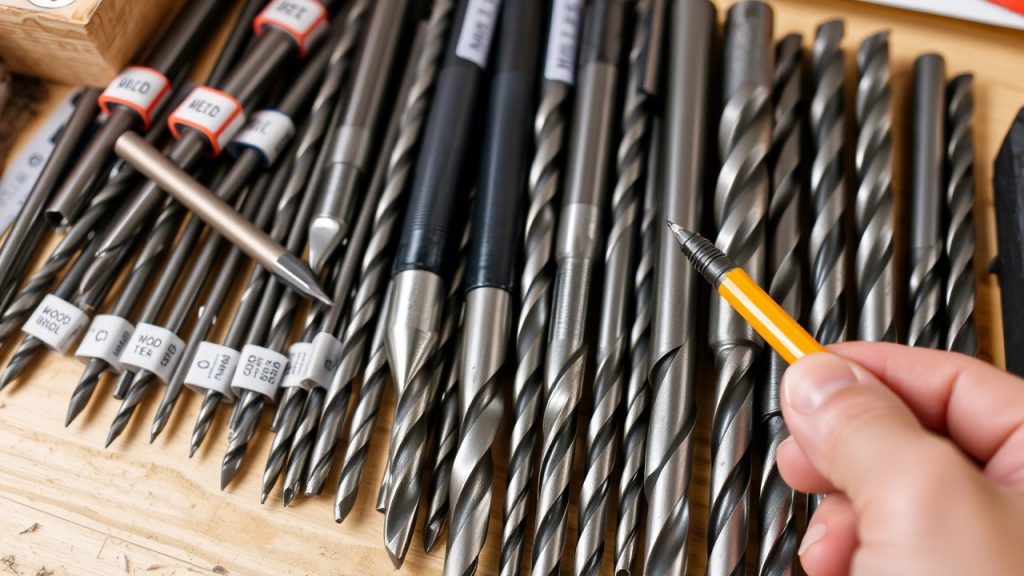
7. Drill with Proper Alignment
Accuracy is one of the hallmarks of great DIY work. Whether you’re drilling holes for screws, dowels, or simply creating pilot holes, ensuring that your drill is perfectly aligned is key to making straight, precise holes.
Tips for Drilling with Proper Alignment:
- Use a Level: If you’re drilling vertically or horizontally, a small bubble level can help ensure your drill is straight.
- Mark Your Spot: Use a pencil or a small drill guide to mark the location of your hole before starting.
- Use a Drill Guide: A drill guide or jig can keep your drill bit steady and aligned, especially when you need to drill at specific angles.
Tip: For best results, use a drill guide or clamp to keep your drill steady and aligned, ensuring straight, accurate holes every time.
8. Secure Your Workpiece Before Drilling
One of the easiest ways to improve accuracy and avoid accidents is by securing your workpiece before you start drilling. This helps prevent the material from moving, which can lead to crooked holes, damaged workpieces, or even injuries.
Tips for Securing Materials:
- Use clamps to hold wood, metal, or plastic in place while drilling.
- If you’re drilling into a wall or other structure, use a stud finder to locate safe spots for drilling.
- For small or delicate items, a vise or workbench will hold them firmly and prevent shifting.
Tip: Always secure the material in place before drilling, especially when working with small pieces or harder materials.
9. Maintain Your Drill for Longevity
A well-maintained drill will last longer, perform better, and make your DIY projects much easier. Regular maintenance ensures your drill stays in top shape and helps avoid unnecessary issues while working.
Maintenance Tips:
- Clean the Chuck: Dust, dirt, and debris can accumulate in the chuck, making it difficult to change drill bits. Periodically clean it with a rag or compressed air.
- Lubricate Moving Parts: Apply light oil to the moving parts, such as the chuck and the trigger mechanism.
- Charge the Battery (For Cordless Drills): Keep your cordless drill fully charged and store the battery in a cool place to prolong its life.
- Inspect for Wear and Tear: Regularly check your drill for any signs of damage, such as cracks or worn-out parts.
Tip: Maintaining your drill properly will keep it running smoothly for years to come and save you money in the long run.

10. Always Use Safety Gear
Last but certainly not least, safety should always be your top priority when working with drills. These powerful tools can cause injury if not used properly, so it’s essential to follow safety protocols.
Essential Safety Gear:
- Safety Glasses: Always protect your eyes from flying debris.
- Ear Protection: Drills, especially high-powered ones, can be noisy. Wear ear protection to safeguard your hearing.
- Work Gloves: Use gloves to protect your hands from sharp edges, debris, or accidental slips.
- Dust Mask: When drilling into certain materials like wood or drywall, dust can become airborne. A dust mask will help protect your lungs.
Tip: Always wear the appropriate safety gear to reduce the risk of injury and ensure a safer working environment.
10 FAQs About Using Drills for DIY Projects
1. What is the most important feature to look for when buying a drill?
- Look for variable speed control and adjustable torque settings. These features give you versatility and control for various tasks.
2. Can I use the same drill bit for wood and metal?
- No. Wood drill bits are designed differently from metal drill bits, so always use the right one for the material.
3. Why does my drill bit keep getting stuck?
- This could be due to applying too much pressure, using the wrong speed, or the bit becoming dull. Try reducing pressure, slowing the speed, and checking the bit for damage.
4. How do I know if my drill bit is dull?
- A dull drill bit will struggle to drill through the material, create excess heat, and may produce uneven or ragged holes.
5. Can I drill into concrete with a regular drill?
- Regular drills can handle light masonry work, but for tougher materials like concrete or brick, you’ll need a hammer drill with a masonry bit.
6. How can I drill perfectly straight holes?
- Use a drill guide or clamps to stabilize your material and ensure your drill stays aligned.
7. Should I drill in reverse to remove screws?
- Yes. Reverse mode is the best way to back screws out without damaging the material.
8. What is the best way to prevent cracking when drilling into tile?
- Use a ceramic drill bit and drill slowly. Start with a small pilot hole, and apply minimal pressure.
9. How can I drill deep holes in wood?
- Use an auger bit or spade bit, which are designed for deeper, larger holes in wood.
10. How often should I maintain my drill?
- Regular maintenance every few months will keep your drill running smoothly. Check for signs of wear and tear after heavy use, and clean it regularly to keep dust and debris out of the mechanism.
Conclusion
Mastering the use of your drill can truly transform your DIY projects, and by implementing these 10 essential drill tips, you’ll not only increase the quality and precision of your work, but you’ll also save time, effort, and frustration. Whether you’re drilling holes in wood, metal, concrete, or other materials, understanding the right tools, techniques, and safety protocols will make your projects smoother and more efficient.
Choosing the right drill bit, applying the correct pressure, and maintaining your drill properly are fundamental practices that will help extend the life of your tool and ensure that you achieve professional-level results every time. By becoming familiar with your drill’s features—such as variable speed control, torque settings, and clutch options—you gain the flexibility to tackle a wider range of tasks with confidence.
Remember, safety should always come first. By wearing proper protective gear and following the necessary precautions, you’ll be able to enjoy your DIY endeavors while minimizing risks. As you continue to practice these tips and gain experience, your skill with the drill will improve, enabling you to take on increasingly complex projects with ease.
In the end, the power to unlock the full potential of your drill lies in understanding its capabilities and knowing how to use it effectively. With the right knowledge and preparation, you can confidently approach any DIY project, from simple home repairs to larger renovations. So, take these tips to heart, and the next time you reach for your drill, you’ll be ready to tackle whatever job comes your way with precision and expertise. Happy drilling, DIYers!