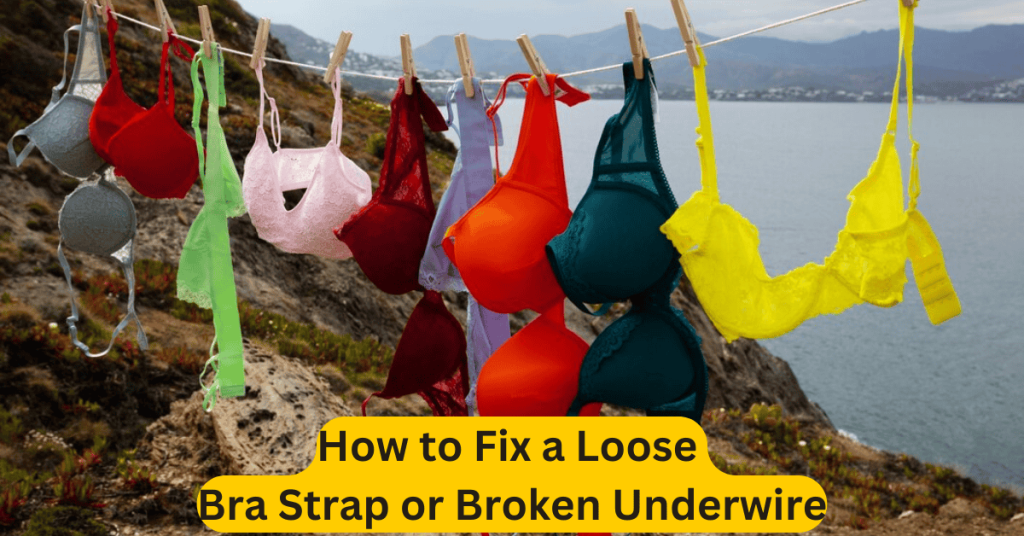
Bras are essential garments that provide support and comfort, making them a staple in every woman’s wardrobe. However, like all clothing, bras are susceptible to wear and tear. One of the most common issues women face is dealing with a loose bra strap or a broken underwire. Both of these problems can make wearing your favorite bra uncomfortable, and you may be tempted to toss the bra out entirely. But before you do that, know that these issues are usually fixable with a bit of effort and some simple tools.
We will guide you through the process of fixing a loose bra strap and a broken underwire. These are common issues, and learning how to fix them yourself will not only save you money but also extend the life of your bras. Plus, fixing these problems can help you restore the support and comfort your bra provides. Keep reading for practical tips, step-by-step instructions, and answers to frequently asked questions about bra repairs.
Looking for the perfect fit? Check Out These Best-Selling Loose Bra Strap.

Why Fixing a Loose Bra Strap or Broken Underwire is Important
Before diving into how to fix a loose strap or a broken underwire, let’s take a moment to consider why these fixes are worth your time and effort.
1. Restore Support and Comfort
- Loose Bra Strap: A loose strap can affect how the bra sits on your body. If the strap is too loose, your bra will fail to provide the support it should, causing your shoulders to bear the brunt of the weight. This can lead to discomfort, back pain, or even headaches. Fixing a loose strap ensures your bra remains comfortable and supportive.
- Broken Underwire: A broken underwire can poke into your skin, making the bra painful to wear. It can also cause the bra to lose its shape, which affects both comfort and appearance. Replacing the underwire can help restore the bra’s structure, preventing discomfort and keeping the bra in top shape.
2. Save Money
Instead of discarding a bra that still fits well in all other areas, repairing a loose strap or broken underwire is an affordable alternative to buying a new bra. Bra repairs are inexpensive and easy to do at home, allowing you to extend the life of your favorite bras without breaking the bank.
3. Sustainability
In today’s world, sustainability is becoming increasingly important. Rather than contributing to clothing waste, repairing your bras helps you do your part in reducing environmental impact. A small repair can make a big difference in prolonging the life of your garments.
How to Fix a Loose Bra Strap
Loose bra straps are a common problem, and they can make your bra uncomfortable or even unwearable. When your straps are loose, they may slide off your shoulders or fail to provide enough lift, which affects the overall support of the bra. Fortunately, fixing a loose strap is a relatively simple process that you can do yourself.
Materials You’ll Need:
- A needle and thread (preferably in a color that matches your bra)
- Scissors
- A ruler or measuring tape
- A sewing machine (optional, but faster)
- A fabric adhesive (optional)
Step-by-Step Instructions:
Assess the Problem
- First, try the bra on and examine the strap. If it’s simply too loose, the strap may need to be shortened. If the issue is with the adjuster (the piece that lets you tighten or loosen the strap), check whether it’s malfunctioning. In either case, you can fix it.
Shorten the Strap (If Necessary)
- If the strap is too long, you can shorten it to fit properly. Start by measuring how much you need to shorten the strap by placing it over your shoulder. Use a ruler or measuring tape to determine the excess length that should be removed.
- Once you know the amount to cut, mark the spot where you need to trim the strap.
Sew the Strap
- After cutting the excess fabric, fold the end of the strap in by about half an inch and pin it in place. Then, use a needle and thread to stitch the strap. Make sure the stitches are secure, as you don’t want the strap to unravel when you wear the bra.
- If you’re using a sewing machine, use a straight stitch to sew the strap, ensuring that it’s held firmly in place.
Reattach the Strap
- After the strap has been shortened and stitched, reattach it to the back of the bra. Check that the strap is even on both sides and that it fits comfortably when you try it on again.
Test the Bra
- Put the bra on and adjust the straps as needed. Make sure the straps sit comfortably on your shoulders without digging in, and ensure that they provide the necessary lift and support.
Optional Step: Use Fabric Adhesive for Quick Fixes
- If you don’t want to sew the strap, you can use fabric adhesive as a temporary fix. Apply the adhesive to the end of the strap, press it into place, and allow it to dry according to the instructions on the packaging. While this is a quicker solution, keep in mind that fabric adhesive may not be as durable as stitching.
Read More: Bra Maintenance Tips: Making Your Lingerie Last Longer
How to Fix a Broken Underwire
A broken underwire is another common bra issue. A broken underwire can poke out of its casing, dig into your skin, or cause the bra to lose its shape. Fixing a broken underwire is essential for maintaining the comfort and support of your bra.
Materials You’ll Need:
- A replacement underwire (if the wire is completely broken)
- A needle and thread (strong thread is best)
- Scissors
- Pliers
- A fabric patch or fabric glue (optional)
Step-by-Step Instructions:
Remove the Broken Underwire
- If the wire has snapped, carefully pull the broken pieces out of the fabric casing. Be gentle so you don’t damage the fabric. Use pliers if necessary to grip the wire and ease it out of the casing.
Get a Replacement Underwire
- If the underwire is completely broken and needs replacing, you can purchase a replacement underwire from a lingerie shop or online. Make sure to select an underwire of the correct size to match your bra.
Insert the New Underwire
- Once you have the new underwire, gently slide it into the casing of the bra. Be careful not to twist or bend the wire too much, as this could cause it to snap. Ensure that the wire sits comfortably inside the casing and is positioned correctly.
Secure the Underwire
- Once the underwire is in place, use a needle and strong thread to sew the opening of the casing closed. Make sure to stitch securely, so the underwire won’t slip out during wear. You may also want to reinforce the stitching in areas where the wire is under the most stress.
Check for Comfort and Fit
- After repairing the underwire, try on the bra to check for comfort and fit. Make sure the new underwire is positioned correctly and that the bra still provides the support it should. If the underwire feels too tight or uncomfortable, you may need to adjust it.
Optional Step: Add a Fabric Patch for Extra Protection
- If you’re concerned about the underwire causing irritation or poking through the fabric, you can add a small fabric patch over the casing where the wire is inserted. Use fabric glue or sew the patch in place to ensure that the underwire remains securely inside the bra.
Additional Tips for Caring for Your Bra
To prevent issues like loose straps or broken underwires in the future, it’s essential to care for your bras properly. Here are a few tips to extend the life of your bras:
- Hand Wash Your Bras: Washing bras in the machine can cause the straps to stretch and the underwires to break. Hand washing bras in lukewarm water with mild detergent helps preserve their structure.
- Avoid Drying Bras in the Dryer: Heat from the dryer can damage the elastic and fabric of your bras. Instead, lay your bras flat to dry or hang them by the straps to air dry.
- Store Bras Properly: When storing bras, avoid folding them in a way that puts strain on the straps or underwires. Instead, store bras flat or hook them together to keep their shape intact.
- Rotate Your Bras: Wearing the same bra every day can cause wear and tear. To extend the life of your bras, rotate them regularly and allow each one to rest between wears.
7 Frequently Asked Questions
1. Can I fix a broken underwire without replacing it?
If the underwire is just slightly bent, you can try to reshape it using pliers. However, if the wire is snapped or severely damaged, it’s best to replace it.
2. How long will a fabric adhesive fix last on a loose strap?
Fabric adhesive is a temporary solution and may last only a few wears. If you need a more durable fix, sewing the strap is a better option.
3. Can I repair a bra strap without a sewing machine?
Yes! You can repair a loose strap by hand sewing it with a needle and thread. A sewing machine can make the process faster, but it’s not necessary for a successful repair.
4. How can I prevent underwires from breaking in the future?
To prevent underwires from breaking, be gentle when handling your bras. Avoid bending or twisting the wires, and wash bras in a way that prevents stress on the fabric.
5. How do I know if a strap is too loose?
If the strap slides off your shoulder, digs into your skin, or doesn’t provide enough lift, it’s too loose. Adjust the strap to a more secure position or shorten it for better support.
6. Can I fix a broken underwire with tape?
While tape can provide a temporary fix, it’s not a durable solution. Using a replacement underwire is the most reliable way to fix the problem.
7. Is it worth repairing a bra, or should I just replace it?
If the bra is in good condition overall and the issue is with the strap or underwire, repairing it is usually worth it. If the bra is old or the fabric is worn out, it might be time to replace it.
Conclusion
Learning how to fix a loose bra strap or broken underwire can save you money and extend the life of your favorite bras. With a few simple tools and some basic sewing skills, you can restore your bras to their original condition. These quick fixes not only improve comfort but also help you feel confident in your bras, making it worth your while to repair rather than replace them.
Suggest Tools


