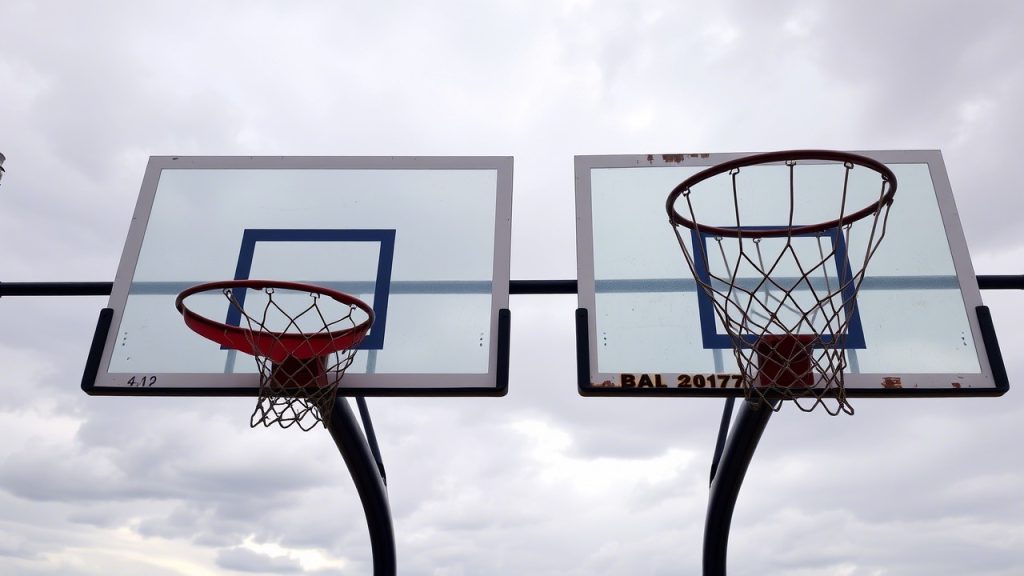
Basketball hoops are built to endure a lot of action, but like anything that gets frequent use, they can suffer damage over time. The backboard, in particular, can be vulnerable to cracks, chips, or scratches from intense play, weather conditions, or even accidental impact. A damaged backboard not only affects the aesthetics of your hoop but can also impact its functionality, especially if the damage interferes with the ball’s bounce or trajectory.
If you’re dealing with a damaged basketball hoop backboard, don’t worry it’s often repairable. We’ll walk you through how to repair a damaged basketball hoop backboard, providing step-by-step instructions, tips on the materials you’ll need, and insight on whether a repair is truly worth it. Whether you’re dealing with a crack, a dent, or a shattered surface, we’ve got you covered.
Looking for the perfect fit? Check Out These Best-Selling Damaged Basketball Hoop Backboard.

Why Repair a Damaged Basketball Hoop Backboard?
Before diving into the steps for repair, let’s consider why you might want to repair a damaged basketball hoop backboard instead of replacing the whole system. Repairing a backboard has several advantages:
- Cost-Effective: Replacing a backboard or an entire hoop system can be expensive, especially if it’s a high-quality, professional-level setup. Repairing the backboard can save you money in the long run.
- Preserving Equipment: If you’ve invested in a durable, high-quality hoop, repairing the backboard ensures you don’t have to lose the investment you’ve already made. A proper repair can extend the lifespan of your hoop.
- Quick Fix: Depending on the type of damage, repairs can often be completed relatively quickly, allowing you to get back to playing basketball without significant downtime.
Now that you understand the benefits, let’s move forward with how you can repair your damaged backboard and restore it to its former glory.
Assessing the Damage
Before you start the repair process, it’s essential to assess the damage. The approach to repair will vary depending on the type of damage your backboard has sustained. Here are some of the most common types of damage to basketball hoop backboards:
- Cracks: Cracks can appear in the backboard material, especially if it’s made from acrylic or tempered glass. Cracks can affect both the structural integrity and the performance of the hoop.
- Chips: Chips are often found around the edges or corners of the backboard. They usually result from minor impacts but can still pose a threat to the backboard’s durability.
- Scratches: Scratches are common, especially on acrylic backboards. They don’t usually affect the performance of the hoop, but they can detract from its appearance.
- Dents: Dents may appear on metal-framed backboards, especially after being hit with a strong object. They can deform the surface, leading to irregular rebounds.
- Shattered or Broken Glass: If your backboard is made of glass and it’s shattered or broken, the repair process becomes more complex. This type of damage might require a complete replacement of the backboard.
Materials You’ll Need for Repair
Once you’ve identified the type of damage, it’s time to gather the necessary materials. Depending on the severity of the damage, you might need some or all of the following:
- Acrylic Resin or Epoxy: For repairing cracks or chips in acrylic backboards, these materials help to seal the damage and restore integrity.
- Glass Repair Kit: If the damage is to a glass backboard, you may need a specialized glass repair kit that includes resin, hardener, and sometimes fiberglass mesh.
- Sandpaper: For smoothing out rough edges around a crack or chip, sandpaper can be useful. Fine-grit sandpaper is best to avoid making new scratches.
- Polyurethane Clear Coat: This can be used for sealing repaired areas to add an extra layer of protection and restore the backboard’s glossy finish.
- Super Glue: In cases of minor chips or cracks, super glue can be effective for a quick fix, especially if the crack is not extensive.
- Duct Tape or Waterproof Tape: Temporary solutions like duct tape can help prevent further damage or secure a cracked section until you can perform a permanent fix.
- Replacement Glass (if necessary): If the backboard is severely damaged (e.g., shattered), you may need to replace the glass entirely, which requires purchasing a new sheet of tempered glass.
Step-by-Step Guide to Repairing a Basketball Hoop Backboard
Now that you’ve assessed the damage and gathered your materials, it’s time to start the repair process. Below is a step-by-step guide to repairing common types of damage to basketball hoop backboards.
Step 1: Remove the Backboard (If Necessary)
For some repairs, such as those involving significant cracks or glass shattering, it may be easier to work on the backboard when it’s removed from the hoop. Carefully follow the manufacturer’s instructions to detach the backboard from the frame. Use proper tools, such as a wrench or screwdriver, to avoid damaging the backboard further.
Pro Tip: If the backboard is cracked or shattered, wear protective gloves and eye protection to prevent injury from broken pieces of glass or acrylic.
Step 2: Clean the Backboard
Before you begin any repairs, thoroughly clean the backboard with a soft cloth and some mild soap or a non-abrasive cleaner. Dust, dirt, and debris can interfere with the adhesive or resin used in the repair. Be sure the area around the damage is clean and dry before proceeding.
Read More: Outdoor Basketball Hoops
Step 3: Repair Cracks in Acrylic Backboards
For cracks in acrylic backboards, you can use an acrylic resin or epoxy. Here’s how to repair a cracked acrylic backboard:
- Mix the Epoxy: Follow the instructions on your epoxy or resin kit. Most kits require you to mix a resin and a hardener to form a strong bond.
- Apply the Epoxy: Using a small brush or spatula, carefully apply the epoxy or resin over the crack. Make sure the crack is completely filled and that the resin seeps into the damaged area.
- Smooth the Surface: After applying the resin, use a spatula or a piece of plastic to smooth the surface and remove any excess resin. This ensures a clean, even repair.
- Let It Cure: Allow the epoxy to cure according to the manufacturer’s instructions (usually 24 hours). This will ensure that the resin hardens and bonds effectively.
Step 4: Repair Chips and Scratches
For chips or scratches, follow these steps:
- Clean the Area: Start by cleaning the chip or scratch and surrounding area.
- Fill the Chip: For a chip, use a small amount of epoxy or acrylic resin to fill the chip. For minor scratches, you can sometimes buff them out using a fine grit sandpaper. If the scratches are deep, you may want to use a clear acrylic repair kit to fill them in.
- Smooth the Surface: After applying the epoxy or resin, use sandpaper to gently smooth out the surface of the repair. Start with a coarser grit and work your way to finer grits until the repair is smooth and flush with the rest of the backboard.
- Apply a Clear Coat: Once the repair is dry, apply a clear coat of polyurethane to protect the repaired area and restore the backboard’s glossy finish.
Step 5: Repairing Dents (Metal Backboards)
For dents on metal-framed backboards, you’ll need a different approach:
- Assess the Depth of the Dent: If the dent is minor, you can often fix it by gently tapping the dent out with a hammer and a rubber mallet from the opposite side. For larger dents, you may need to apply heat to soften the metal before attempting to reshape it.
- Smooth the Area: After fixing the dent, use sandpaper to smooth out any rough edges left behind by the repair.
- Paint and Seal: Once the dent is repaired, use spray paint that matches the original color of your backboard. This step helps restore the appearance of the backboard. Finish with a clear sealant to protect the paint and prevent rust.
Step 6: Shattered Glass (Complete Replacement)
If your glass backboard is shattered or severely cracked, a full replacement may be the only option:
- Remove the Broken Glass: Carefully remove the broken glass from the backboard frame. Use gloves and protective eyewear to avoid injury from sharp edges.
- Order Replacement Glass: Contact the manufacturer or a specialized supplier to order a replacement sheet of tempered glass that fits your backboard.
- Install the New Glass: Once the new glass arrives, carefully install it into the frame. Secure it with the appropriate mounting hardware, ensuring it’s properly aligned and stable.
FAQs
- How long does it take for epoxy to dry on a cracked backboard?
Epoxy typically takes 24 hours to fully cure, but you should follow the manufacturer’s instructions for the specific product you’re using. - Can I repair a shattered glass backboard myself?
While minor glass damage can be repaired, a fully shattered glass backboard generally requires replacement. You can replace the glass yourself if you order the correct size, but be cautious with sharp edges and always wear safety gear. - Is it worth repairing a basketball hoop backboard instead of replacing it?
If the damage is minor (such as small cracks or chips), repairing the backboard can be more cost-effective. However, if the backboard is severely damaged or shattered, replacing it might be the best option. - Can I use duct tape to temporarily repair a backboard?
Duct tape can be used as a temporary solution to prevent further damage, but it’s not a permanent fix. For a durable repair, you’ll need to use epoxy, resin, or other suitable materials. - How do I know if my backboard is too damaged to repair?
If the damage is severe, such as large cracks in the glass or significant structural deformation, the backboard may need to be replaced. Minor chips or scratches can usually be repaired. - Can I repair a metal-framed backboard?
Yes, dents in metal-framed backboards can often be repaired using a rubber mallet and some careful tapping. The frame can also be repainted for cosmetic repairs. - What type of backboard is easiest to repair?
Acrylic backboards are generally easier to repair compared to glass ones. Glass repairs require more specialized tools and expertise, especially when the glass is shattered.
Conclusion
Repairing a damaged basketball hoop backboard is often a cost-effective and simple process, depending on the type and extent of the damage. Whether you’re dealing with cracks, chips, dents, or even a shattered glass surface, following the right repair steps can restore your backboard’s functionality and appearance. Keep in mind that while minor repairs can be handled by most DIYers, severe damage might require a replacement. By using the correct materials and techniques, you can extend the life of your basketball hoop and continue enjoying the game.
More Tools


