Camping is an incredible way to connect with nature, but a flimsy tent can turn your adventure into a nightmare. Harsh weather, rough terrain, and regular wear and tear can quickly degrade even the best tents if not properly maintained or upgraded. Fortunately, with a few strategic tweaks and smart practices, you can significantly boost your tent’s durability in just 30 days.
Whether you’re a weekend camper or a seasoned backpacker, these eight tent ideas will help you strengthen your shelter, extend its lifespan, and ensure it stands up to the elements. Plus, we’ve included a comprehensive FAQ section to address common concerns about tent durability.

Why Tent Durability Matters
A durable tent is the backbone of any successful camping trip. It protects you from rain, wind, UV rays, and critters while providing a comfortable space to rest. A tent that fails—whether through ripped fabric, broken poles, or a leaky rainfly can leave you exposed and frustrated. Investing time and effort into improving your tent’s durability not only saves you money on replacements but also enhances your safety and comfort in the wilderness.
The goal of this 30-day plan is to implement practical, actionable ideas that reinforce your tent’s structure, protect its materials, and prepare it for diverse conditions. These ideas are designed for campers of all experience levels and work for most tent types, from lightweight backpacking models to family-sized car-camping tents. Let’s dive into the eight best ideas to make your tent tougher and longer-lasting.
8 Best Tent Ideas to Increase Durability in 30 Days

1. Reinforce Seams with Seam Sealer
Seams are one of the most vulnerable parts of a tent. Over time, stitching can loosen, and water can seep through tiny needle holes. Applying a high-quality seam sealer creates a waterproof barrier and strengthens the stitching.
How to Do It:
- Day 1-2: Purchase a seam sealer (e.g., Gear Aid Seam Grip) suitable for your tent’s material (nylon, polyester, or canvas). Set up your tent in a well-ventilated area.
- Day 3: Clean the seams with a damp cloth and let them dry. Apply a thin, even layer of seam sealer along all exterior seams, focusing on high-stress areas like corners and zipper lines.
- Day 4: Let the sealer cure for 24 hours. Test the tent by spraying water on the seams to ensure no leaks.
Why It Works:
Seam sealing prevents water ingress and reduces stress on the stitching, which can fray under tension. This simple step can extend your tent’s life by years.

2. Upgrade to Heavy-Duty Tent Stakes
Standard tent stakes are often flimsy and bend under pressure, especially in rocky or windy conditions. Upgrading to heavy-duty stakes improves your tent’s stability and prevents damage to the guylines and fabric.
How to Do It:
- Day 5-6: Invest in durable stakes made of aluminum or titanium (e.g., MSR Groundhog or Vargo Titanium stakes). Choose stakes with a Y- or V-shaped design for better ground grip.
- Day 7: Practice setting up your tent with the new stakes on different terrains (grass, sand, gravel). Learn to angle stakes at 45 degrees for maximum hold.
- Day 8: Store stakes in a dedicated bag to prevent them from puncturing your tent fabric during transport.
Why It Works:
Stronger stakes keep your tent secure in high winds, reducing strain on the poles and fabric. This upgrade is especially crucial for backcountry camping where weather can change rapidly.
3. Add a Footprint or Tarp for Ground Protection
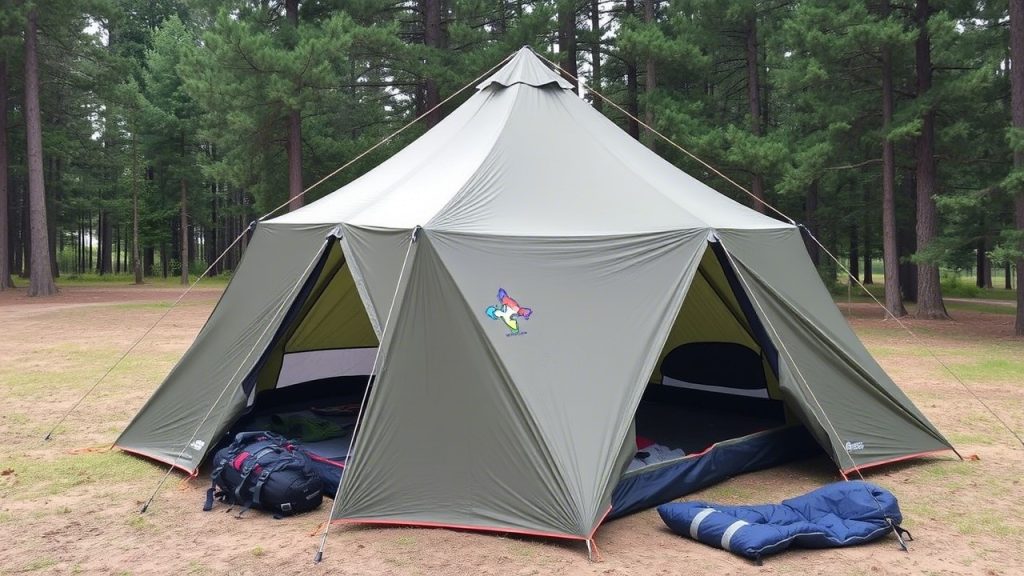
The tent floor is constantly exposed to abrasion from rocks, roots, and moisture. A footprint or tarp acts as a protective barrier, shielding the floor from tears and extending its lifespan.
How to Do It:
- Day 9-10: Purchase a custom footprint for your tent model or a lightweight tarp slightly smaller than your tent’s base. Tyvek or polycarbonate sheets are affordable alternatives.
- Day 11: Set up your tent on the footprint during a test camp in your backyard. Ensure the footprint doesn’t extend beyond the tent’s edges to avoid pooling rainwater.
- Day 12: Clean and dry the footprint after each use to prevent mold and mildew.
Why It Works:
A footprint reduces wear on the tent floor, prevents punctures, and adds an extra layer of waterproofing. It’s a small investment for significant durability gains.
4. Reinforce Poles with Repair Sleeves
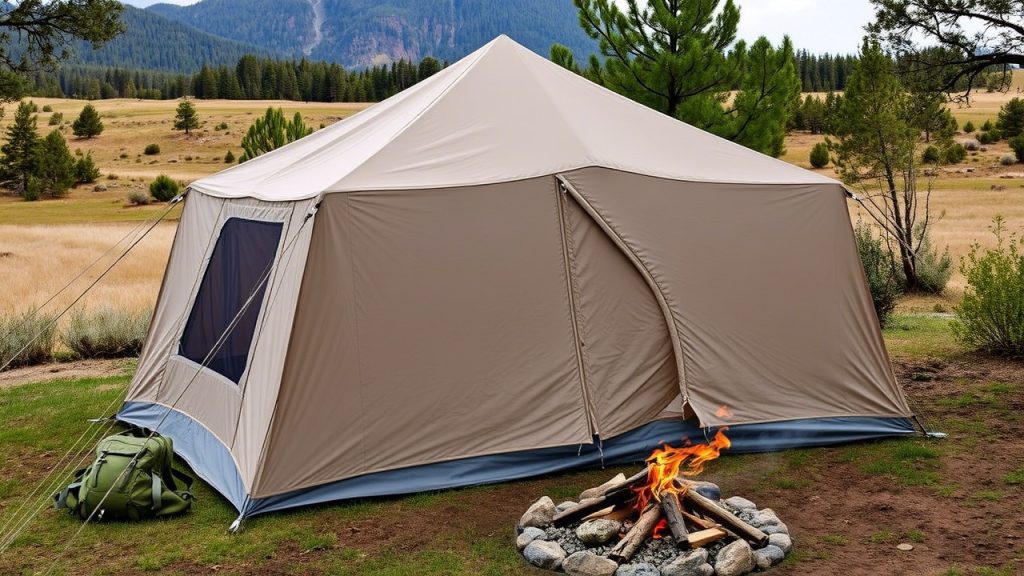
Tent poles are prone to bending or snapping under wind stress or accidental impact. Carrying repair sleeves and learning to use them can prevent catastrophic pole failure and keep your tent structurally sound.
How to Do It:
- Day 13-14: Buy a repair sleeve kit (available from most tent manufacturers) or cut a small section of aluminum tubing to fit your poles.
- Day 15: Practice sliding the sleeve over a pole section and securing it with duct tape or zip ties. For permanent reinforcement, apply sleeves to high-stress pole joints before they break.
- Day 16: Store repair sleeves in your tent repair kit for easy access during trips.
Why It Works:
Repair sleeves distribute stress across weakened pole sections, preventing further damage. Proactive reinforcement can save your tent during stormy conditions.

5. Apply UV-Protectant Spray to Combat Sun Damage
Prolonged exposure to UV rays degrades tent fabric, causing it to fade, weaken, and tear. A UV-protectant spray creates a protective coating that slows this process.
How to Do It:
- Day 17-18: Purchase a UV-protectant spray designed for outdoor fabrics (e.g., Nikwax Tent & Gear SolarProof). Set up your tent in a shaded area.
- Day 19: Clean the tent with a mild soap solution and let it dry. Spray the protectant evenly on the rainfly and tent body, focusing on sun-exposed areas.
- Day 20: Allow the tent to dry completely before packing. Reapply every 6-12 months, depending on usage.
Why It Works:
UV-protectant sprays extend the life of your tent’s fabric by reducing sun-induced degradation. This is especially important for campers in sunny or high-altitude environments.
6. Improve Ventilation to Prevent Mold and Mildew
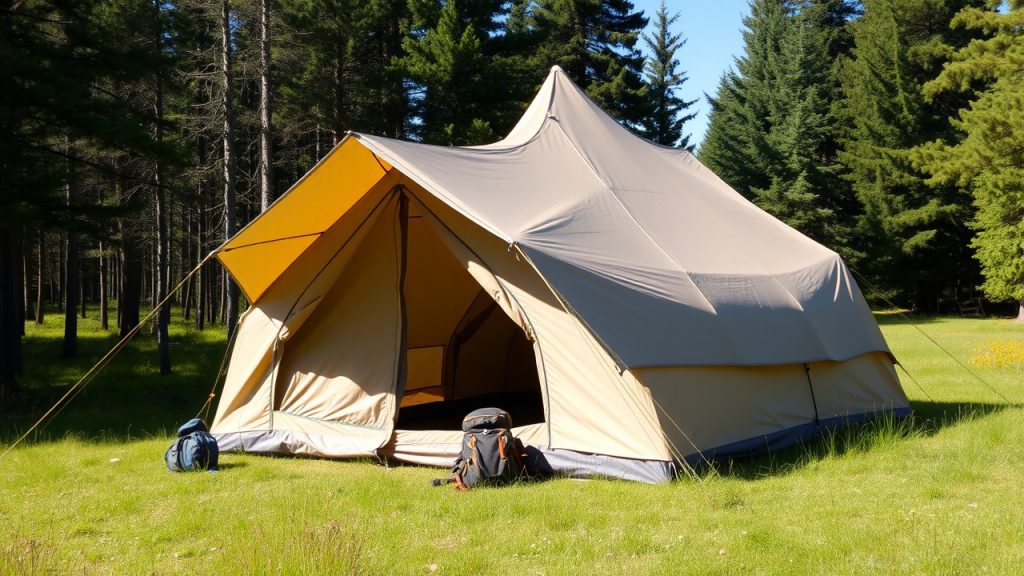
Moisture trapped inside a tent can lead to mold and mildew, which weaken fabric and create unpleasant odors. Improving ventilation keeps your tent dry and durable.
How to Do It:
- Day 21-22: During your next camping trip, prioritize ventilation by opening all vents and windows, especially in humid conditions. Use guylines to pull the rainfly away from the tent body for better airflow.
- Day 23: After each trip, air-dry your tent completely before storing it. Hang it in a garage or backyard to ensure no moisture remains.
- Day 24: Store your tent loosely in a breathable storage sack, not its stuff sack, to prevent trapped moisture.
Why It Works:
Proper ventilation and storage prevent mold growth, which can compromise fabric integrity. A dry tent is a durable tent.
7. Patch Small Tears Immediately
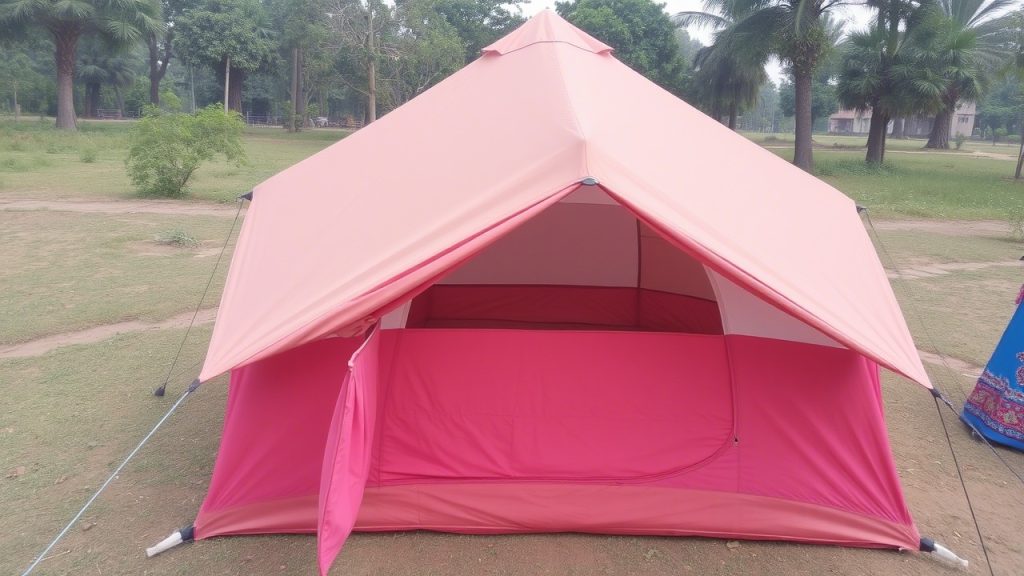
Even minor tears in your tent’s fabric or mesh can grow larger under stress, compromising its weatherproofing and structure. Patching tears promptly prevents further damage.
How to Do It:
- Day 25-26: Assemble a repair kit with tent-specific patches (e.g., Tenacious Tape), a small sewing kit, and waterproof adhesive.
- Day 27: Inspect your tent for tears or worn areas. For small holes, apply a patch to both sides of the fabric. For larger tears, sew the edges together before patching.
- Day 28: Test the repair by setting up the tent and checking for leaks or weak spots.
Why It Works:
Quick repairs stop small issues from becoming major ones, preserving your tent’s functionality and appearance.

8. Practice Proper Setup and Takedown Techniques
Improper setup and takedown can strain your tent’s components, leading to premature wear. Mastering correct techniques ensures your tent remains in top shape.
How to Do It:
- Day 29: Watch a setup tutorial for your tent model (check the manufacturer’s website or YouTube). Practice setting it up smoothly, avoiding excessive force on poles or zippers.
- Day 30: When taking down the tent, roll rather than stuff it to reduce fabric stress. Clean and dry all components before packing.
- Ongoing: Always stake and guy out your tent properly to distribute wind loads evenly.
Why It Works:
Gentle handling and proper setup minimize wear on zippers, poles, and fabric, ensuring your tent stays durable for years.
Bonus Tips for Long-Term Tent Durability
- Clean Regularly: After each trip, clean your tent with a damp cloth and mild soap to remove dirt and sap, which can degrade fabric over time.
- Avoid Overloading: Don’t hang heavy gear inside the tent, as this can strain the fabric and poles.
- Store Properly: Keep your tent in a cool, dry place away from direct sunlight to prevent material breakdown.
- Inspect Before Trips: Check for wear and tear before heading out to catch issues early.
9 Frequently Asked Questions About Tent Durability
1. How often should I reapply seam sealer to my tent?
You should reapply seam sealer every 1-2 years, depending on usage and exposure to rain. Check seams before each major trip and reapply if you notice leaks or peeling.
2. Can I use a tarp instead of a custom footprint?
Yes, a tarp works well as long as it’s slightly smaller than your tent’s base to prevent water pooling. Tyvek or polycarbonate tarps are lightweight and durable options.
3. What’s the best way to clean a tent without damaging it?
Use a damp cloth with mild soap (no detergent) to gently scrub dirt. Rinse thoroughly and air-dry completely. Avoid machine washing, as it can damage coatings and seams.
4. How do I know if my tent poles need repair sleeves?
If poles are bent, cracked, or feel weak when flexed, apply repair sleeves to reinforce them. Proactively adding sleeves to high-stress joints can prevent future breaks.
5. Does UV-protectant spray work on all tent materials?
Most UV-protectant sprays are designed for nylon and polyester tents. Check the product label to ensure compatibility with your tent’s material, especially for canvas or specialty fabrics.
6. How can I prevent mold in my tent during storage?
Always dry your tent completely before storing it. Use a breathable storage sack and keep it in a cool, dry place. Avoid storing in damp basements or hot attics.
7. Can I repair a torn tent floor myself?
Yes, use a patch kit like Tenacious Tape for small tears. For larger tears, sew the edges together and apply a patch on both sides. A footprint can prevent future floor damage.
8. Are titanium stakes worth the investment?
Titanium stakes are lightweight, durable, and hold well in tough terrain, making them ideal for frequent campers. Aluminum stakes are a more budget-friendly option for casual use.
9. How long should a well-maintained tent last?
With proper care, a high-quality tent can last 5-10 years or more, depending on usage frequency and conditions. Regular maintenance like the ideas above significantly extends its lifespan.
Conclusion
Boosting your tent’s durability doesn’t require a huge investment or advanced skills—just consistent care and a few smart upgrades. By following these eight ideas over 30 days, you’ll transform your tent into a reliable, long-lasting shelter ready for any adventure. From sealing seams to upgrading stakes and practicing proper setup, each step builds on the last to create a tougher, more resilient tent. Start today, and by the end of the month, you’ll have peace of mind knowing your tent can handle whatever nature throws its way.
Happy camping!

