Drills are undoubtedly one of the most essential tools in any DIY enthusiast’s or professional’s toolkit. Whether you’re hanging a picture, assembling furniture, or taking on a full-fledged renovation project, your drill is likely to be your most trusted companion. However, many people only scratch the surface of what their drill can do. They might use it to drill holes or drive screws, but your drill has so much more to offer. By mastering a few additional techniques, exploring new accessories, and understanding how to select the right drill bit for each task, you can unlock the full potential of your drill and take your projects to a whole new level.
We’ll walk you through game-changing ways to use your drill, enhance your skills, and make the most of this versatile tool. From basic tips to advanced tricks, you’ll discover how to approach every task with confidence and precision.
1. Master the Basics – Understanding Your Drill
Before diving into the advanced techniques and game-changing tips, it’s important to understand the fundamentals of your drill. Whether you own a cordless drill or a corded drill, the key to unlocking its potential lies in knowing how to use it properly.
Key Features of a Drill:
- Chuck: The chuck holds the drill bit in place. You can have a keyed chuck (which requires a special tool to tighten or loosen) or a keyless chuck (which can be adjusted by hand).
- Variable Speed: Many drills offer variable speed control, which is crucial for different materials. A slower speed is perfect for driving screws, while faster speeds are better for drilling into softer materials.
- Torque Settings: This feature adjusts the amount of power the drill delivers. For driving screws, a lower torque setting works best, but when drilling, you’ll want to increase the torque.
- Reverse Mode: Most drills have a reverse mode to easily remove screws or drill in reverse. This is especially useful when you need to back out a screw or when working with threaded materials.
Tip: Understand the role of each feature, and experiment with them to familiarize yourself with their effects. Knowing how to adjust your settings can make a huge difference in both efficiency and results.
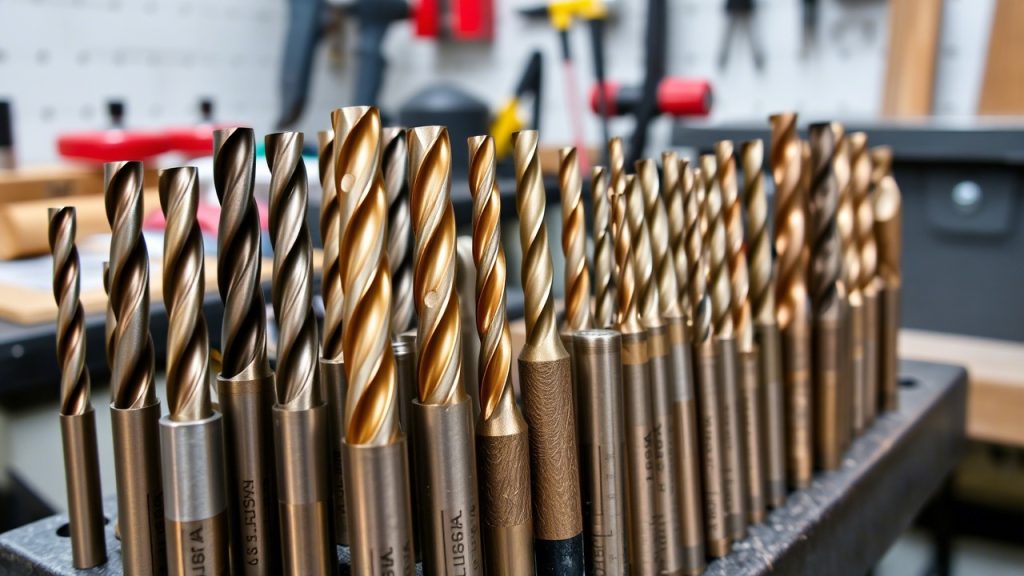
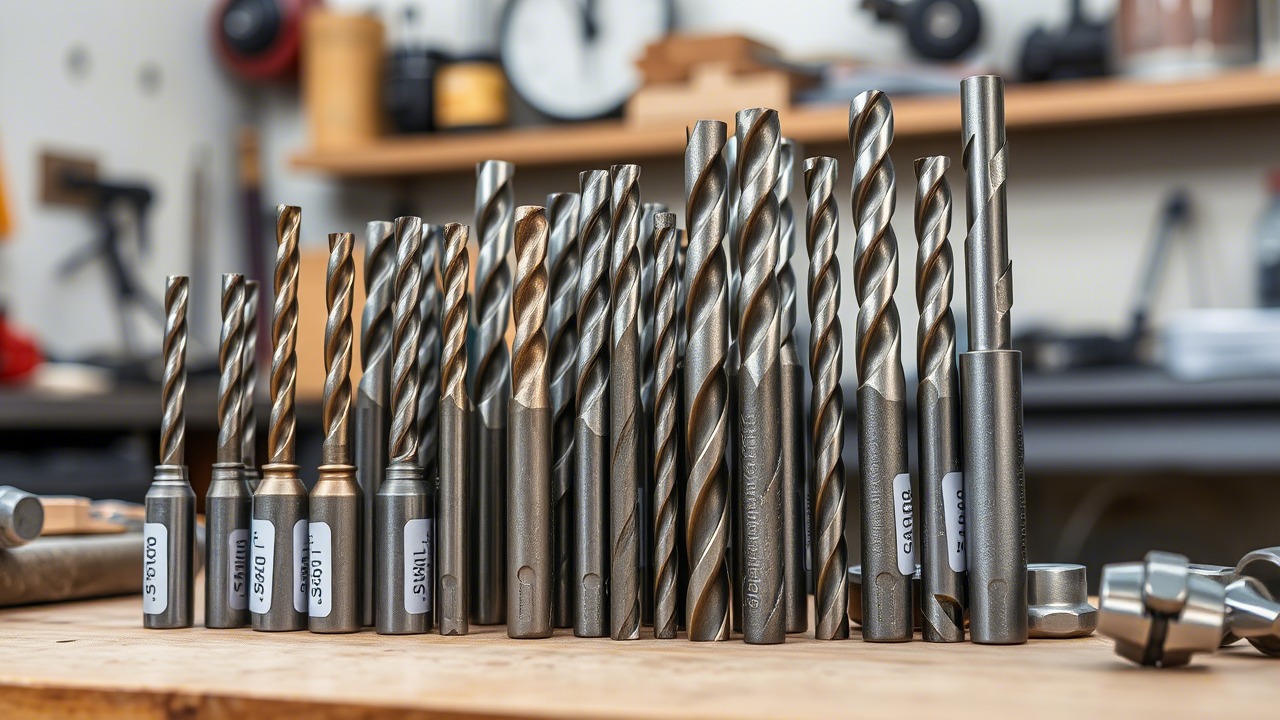
2. Choosing the Right Drill Bits – A Key to Success
A drill is only as effective as the bit you use. Choosing the right drill bit is crucial for the success of your project. There are many different types of drill bits, and each is designed for specific materials and tasks. Here’s a breakdown of the most common types:
Types of Drill Bits and Their Uses:
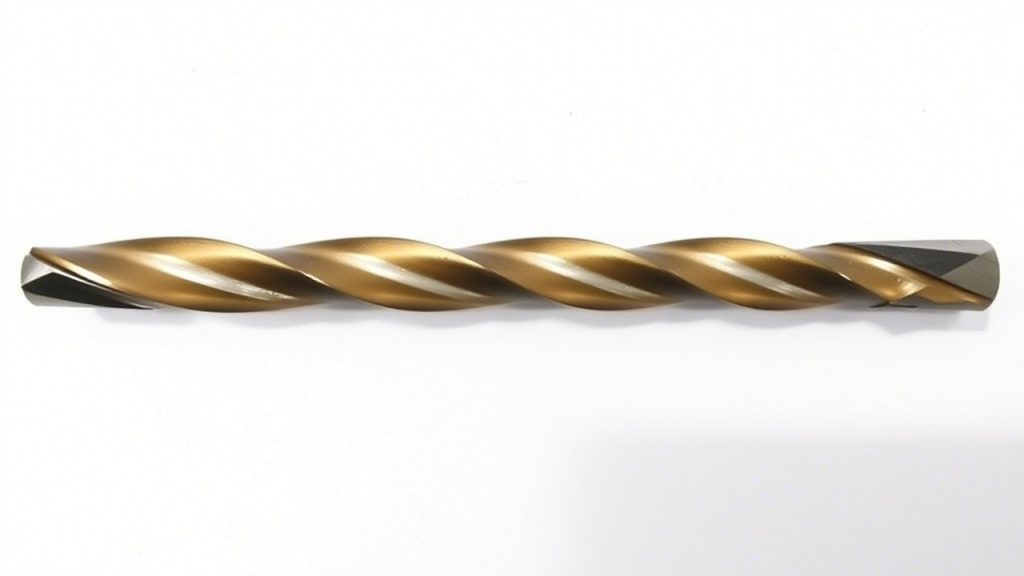
- Twist Drill Bits – Most common, versatile bits for wood, plastic, and metal.
- Brad Point Bits – Specially designed for wood, with a sharp point that prevents wandering.
- Masonry Drill Bits – Designed for drilling into concrete, stone, or brick, with a carbide tip to handle the tough material.
- Forstner Bits – Perfect for creating flat-bottomed holes in wood.
- Auger Bits – Used for deep, clean holes in wood, especially for drilling large diameter holes.
- Hole Saw Bits – Ideal for cutting large holes through wood, drywall, and plastic.
- Cobalt Drill Bits – Great for drilling through tough metals like stainless steel.
Tip: Ensure you’re using the correct drill bit for the material you’re working with. For instance, using a masonry bit to drill into wood could not only damage the bit but also yield poor results. Always match the bit to the material and the task.
3. Take Advantage of Drill Attachments and Accessories
Drills are incredibly versatile on their own, but with the right attachments, you can unlock an entire new range of capabilities. Here are some essential drill attachments and accessories that will make your life easier:
Key Attachments and Accessories:
- Drill Attachments:
- Right Angle Attachment: Perfect for tight spaces where your drill might not fit.
- Flex Shaft: This attachment adds extra length to your drill for deeper or hard-to-reach areas.
- Drill Guides: Useful for precise and straight drilling in wood, especially for doweling and hinge work.
- Screwdriver Bits: A set of high-quality screwdriver bits allows you to use your drill for driving screws of various sizes. This is especially useful when assembling furniture or performing construction tasks.
- Impact Driver: Though technically a different tool, an impact driver can be used in conjunction with your drill. Impact drivers provide extra torque and are excellent for driving long screws into tough materials.
Tip: For the best results, invest in a good set of accessories. For instance, screwdriver bit sets, right-angle adapters, or extension bars can significantly improve your accuracy, precision, and versatility.
4. Maximize Your Drill’s Speed Control
Understanding how to control the speed of your drill is vital for a wide variety of projects. A drill with a variable speed trigger can make all the difference in achieving the right results for different tasks.
- Low Speeds (500-800 RPM): Ideal for driving screws or working with delicate materials like plastic, drywall, or thin wood. Slower speeds provide more control and reduce the risk of stripping screws.
- High Speeds (1500+ RPM): Best for drilling holes into soft materials like wood or plastic. Faster speeds increase efficiency and are required when drilling into larger or softer materials.
Tip: Start at a low speed and gradually increase it if needed. This will help prevent mistakes and allow you to focus on precision, especially when starting a hole.

5. Use the Right Torque Settings
One of the most game-changing features of modern drills is their adjustable torque settings. This setting allows you to control the amount of power delivered by the drill. Understanding torque control will prevent overdriving screws, which can damage the material or the screw itself.
- Lower Torque: For driving screws into softwood, drywall, or thin materials.
- Higher Torque: When drilling into harder materials like hardwood, metal, or when you need to create deeper holes.
Tip: Always start with a low torque setting, and adjust it gradually based on the material and the task. This will give you the precision you need without damaging the material or stripping screws.
6. Drill With Precision – Use Guides for Accuracy
Precision is crucial in any DIY project, especially when working with materials like wood, metal, or plastic. Using guides will help you achieve straight, even holes every time. You don’t need to be an expert to drill accurately. Here are some tools that can help:
Types of Guides:
- Drill Press: A stationary machine that holds the drill and allows for precise, vertical drilling.
- Drill Guide Jig: A portable tool that ensures straight, accurate holes while drilling in various materials. Great for creating dowel holes, hinge placements, or shelf supports.
Tip: If you don’t have access to a drill press, a drill guide jig is an affordable and effective solution for improving your accuracy.
7. Optimize Your Drilling for Different Materials
Different materials require different drilling techniques. It’s crucial to adjust your drilling strategy depending on the material you’re working with. Let’s look at how to optimize drilling for specific materials:
Wood:
- Use a Brad Point Bit for clean holes and reduced splintering.
- Drill at a slow speed to prevent burning the wood.
- Use backing boards to prevent tear-out on the other side of the wood.
Metal:
- Use a Cobalt Drill Bit for tough metals like stainless steel.
- Lubricate the drill bit with oil to reduce heat and friction.
- Drill at a slower speed to avoid overheating the bit.
Concrete/Brick:
- Use a Masonry Bit with a hammer drill for optimal performance.
- Go slowly and apply constant pressure to avoid damaging the bit.
Tip: Always adjust the speed and drill bit according to the material. Using the wrong bit can lead to poor results and damage to your tools.
8. Maintain Your Drill for Longevity
To keep your drill running smoothly, regular maintenance is key. A well-maintained drill will last longer and perform better, saving you time and money in the long run. Here’s how to keep your drill in top shape:
Maintenance Tips:
- Clean the Chuck: Regularly remove dust and debris from the chuck to ensure it holds the drill bit securely.
- Lubricate the Moving Parts: Use a light oil to lubricate the drill’s moving parts, such as the chuck and trigger mechanism.
- Charge or Replace Batteries: If you’re using a cordless drill, ensure that the batteries are charged or replaced when necessary to maintain optimal power.
- Check for Wear and Tear: Regularly inspect your drill for signs of damage or wear, especially the chuck and trigger. If parts are worn out, replace them to avoid further issues.
Tip: Keep your drill clean and well-lubricated to extend its life. A little maintenance goes a long way!
9. Safety First – Essential Precautions
Working with drills can be dangerous if proper safety precautions aren’t taken. Follow these safety tips to protect yourself:
- Always wear safety goggles to protect your eyes from debris.
- Use ear protection when operating a drill for extended periods, especially if it’s a high-powered tool.
- Ensure your drill is securely positioned before starting, and always keep a firm grip on the tool.
- Check for obstructions before drilling into walls or ceilings to avoid hitting wires or pipes.
Tip: Never rush your drilling tasks. Take your time and follow all safety instructions to minimize the risk of accidents.
10. Advanced Drilling Techniques
Once you’ve mastered the basics, you can experiment with more advanced drilling techniques:
- Countersinking: Create a recess for the screw head to sit flush with the surface. Use a countersink drill bit for this technique.
- Core Drilling: Use a core drill to remove a plug of material and create clean, large holes. This is ideal for tasks like installing plumbing pipes or electrical wiring.
- Drill and Tap: For metalworking, use a
- tap drill to create threaded holes that can hold screws or bolts securely.
Tip: With practice, advanced techniques like countersinking and core drilling will significantly expand the range of projects you can tackle with your drill.
10 FAQs About Unlocking Your Drill’s Full Potential
1. What is the best drill for home use?
- A cordless drill is typically the best choice for home use, as it’s versatile, easy to handle, and can tackle a variety of tasks, from drilling holes to driving screws.
2. Can I use a drill as a screwdriver?
- Yes, you can use your drill as a screwdriver by attaching the appropriate screwdriver bit. Just be sure to adjust the torque settings to prevent overdriving the screws.
3. How do I know which drill bit to use?
- Match the drill bit to the material you’re working with. For instance, use a twist drill bit for wood and metal, a masonry bit for concrete, and a diamond bit for glass or tile.
4. What drill bit is best for metal?
- For metal, use a cobalt drill bit or a titanium-coated bit for durability and heat resistance.
5. How do I prevent the drill bit from overheating?
- Keep the drill bit cool by using cutting fluid for metal and drilling at slower speeds. Take breaks to allow the bit to cool down between drilling sessions.
6. How can I drill straight holes?
- Use a drill guide or drill press for greater precision. Alternatively, use a spirit level to ensure your drill is aligned correctly.
7. What should I do if my drill isn’t working properly?
- First, check the power source, whether it’s the battery or the plug. Inspect the drill bits and chuck for damage, and clean any debris that might be blocking movement.
8. How do I maintain my drill bits?
- Regularly clean your drill bits, and if they become dull, sharpen or replace them. For metal bits, use oil to keep them lubricated.
9. Can I use a drill for other tasks beyond drilling?
- Absolutely! With the right attachments and bits, you can use your drill for sanding, mixing, and even grinding.
10. Is it better to buy a corded or cordless drill?
- Cordless drills offer greater mobility and convenience, making them ideal for most tasks. However, a corded drill offers continuous power, making it more suitable for heavy-duty projects.
Conclusion
Unlocking the full potential of your drill is more than just understanding how to use it to make holes in walls. With the right knowledge, techniques, and tools, your drill can become an incredibly versatile asset for a wide range of projects. By mastering the basics, selecting the appropriate drill bits, and incorporating the right attachments and accessories, you can ensure that your drilling tasks are efficient, precise, and safe.
Moreover, maintaining your drill properly and understanding how to optimize its speed, torque, and power settings will help prolong the life of your tool, giving you more value from your investment. Whether you’re drilling into wood, metal, concrete, or plastic, you’ll be able to tackle each material with the right approach, ensuring the best possible results every time.
As you continue to explore and experiment with your drill, don’t forget that safety should always come first. By following proper safety protocols and utilizing protective gear, you can work confidently and without worry.
The key to unlocking your drill’s full potential lies in knowledge, preparation, and practice. With these game-changing tips, your drill can go from just a basic tool to a powerhouse in your DIY arsenal. Whether you’re a weekend warrior or a seasoned pro, these techniques will enhance your drilling experience and help you take on any project with ease. So, grab your drill, apply these tips, and start creating the projects you’ve always dreamed of! Happy drilling!