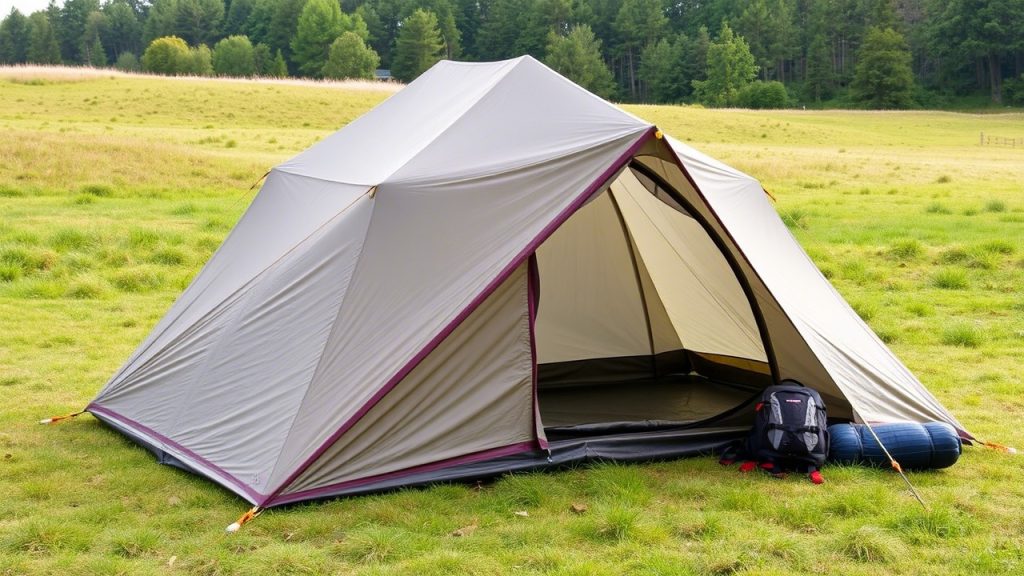
Camping is a fantastic way to escape the daily grind, immerse yourself in nature, and create lasting memories. But a basic tent setup can sometimes leave you wanting more comfort, convenience, or durability. By upgrading your tent with smart modifications and strategic gear choices, you can transform your camping experience into something truly exceptional. T
his guide presents 13 best tent ideas to upgrade your next camping trip, covering everything from weatherproofing to luxury add-ons. Whether you’re a solo backpacker, a family camper, or an overlander, these practical tips will enhance your tent’s functionality and comfort.
Why Upgrading Your Tent Matters
A well-upgraded tent is more than just shelter—it’s a base camp that enhances your comfort, protects you from the elements, and simplifies your trip. Upgrades like better ventilation, durable materials, or clever storage solutions can make your tent feel like a home away from home, whether you’re braving a storm or relaxing under the stars.
These ideas are designed to work with most tent types, from ultralight backpacking models to spacious family tents, and cater to campers of all experience levels. By implementing these upgrades, you’ll spend less time wrestling with gear and more time enjoying the beauty of the outdoors.
13 Best Tent Ideas to Upgrade Your Next Camping Trip
1. Add a Custom Footprint for Floor Protection
A footprint or groundsheet protects your tent floor from rocks, roots, and moisture, extending its lifespan and keeping you dry.
How to Do It:
- Purchase a custom footprint for your tent model or cut a lightweight tarp (e.g., Tyvek or polycryo) to fit slightly smaller than the tent’s base.
- Place the footprint under the tent during setup, ensuring it doesn’t extend beyond the edges to avoid pooling rainwater.
- Clean and dry the footprint after each trip to prevent mold.
Why It Upgrades Your Trip:
A footprint prevents punctures and abrasion, keeping your tent floor intact and your sleep surface dry, especially on rough terrain.

2. Seal Seams for Waterproofing
Seams are a common weak point where water can seep into your tent. Applying seam sealer creates a waterproof barrier, ensuring you stay dry in heavy rain.
How to Do It:
- Buy a seam sealer like Gear Aid Seam Grip WP, suitable for your tent’s material (nylon, polyester, or canvas).
- Set up your tent in a well-ventilated area, clean the seams with a damp cloth, and apply a thin layer of sealer along all exterior seams.
- Let the sealer cure for 24 hours, then test with a hose to confirm no leaks.
Why It Upgrades Your Trip:
Sealed seams enhance weather resistance, giving you peace of mind during storms and extending your tent’s usability.
3. Upgrade to Heavy-Duty Stakes
Standard tent stakes often bend or fail in tough ground or high winds. Heavy-duty stakes provide better stability and durability.
How to Do It:
- Invest in aluminum or titanium stakes (e.g., MSR Groundhog or Vargo Titanium Shepherd’s Hook) with a Y- or V-shaped design for superior grip.
- Practice driving stakes at a 45-degree angle into different terrains (grass, sand, gravel) for maximum hold.
- Store stakes in a dedicated pouch to avoid puncturing your tent during transport.
Why It Upgrades Your Trip:
Stronger stakes keep your tent secure in windy conditions, reducing stress on poles and fabric for a more reliable setup.
4. Install a Gear Loft for Organization
A gear loft adds overhead storage, keeping small items like headlamps, phones, or maps off the floor and within reach.
How to Do It:
- Choose a tent with a built-in gear loft (e.g., MSR Habitude 6) or purchase an aftermarket loft like the Kelty Gear Loft.
- Attach the loft to the tent’s ceiling loops, ensuring it doesn’t sag or block ventilation.
- Use it to store lightweight essentials, avoiding heavy items that could strain the fabric.
Why It Upgrades Your Trip:
A gear loft maximizes interior space, reduces clutter, and keeps essentials accessible, creating a tidier, more comfortable tent.

5. Add Solar-Powered Lighting
Solar-powered LED lights provide eco-friendly illumination, enhancing safety and ambiance without relying on batteries.
How to Do It:
- Purchase solar-powered lanterns or string lights (e.g., MPOWERD Luci Solar String Lights) that charge via a built-in solar panel.
- Hang lights inside the tent using gear loops or carabiners, or place them outside during the day to charge.
- Opt for dimmable lights to conserve energy and create a cozy atmosphere.
Why It Upgrades Your Trip:
Solar lights brighten your tent for nighttime tasks or reading, adding convenience and a warm glow to your campsite.
6. Use a Comfortable Sleeping Pad
A high-quality sleeping pad improves insulation and cushioning, making your tent feel like a real bedroom.
How to Do It:
- Choose an inflatable pad like the Therm-a-Rest NeoAir XLite (R-value 4.2, 12 oz.) for backpacking or a thicker pad like the REI Co-op Camp Dreamer (R-value 6.6) for car camping.
- Pair with a lightweight pillow (e.g., Sea to Summit Aeros) for added comfort.
- Ensure the pad fits your tent’s floor space without crowding.
Why It Upgrades Your Trip:
A comfortable pad ensures better sleep, keeping you warm and supported on uneven ground for a refreshed morning.
7. Enhance Ventilation with a USB Fan
A small, battery-powered or solar-charged fan improves airflow, reducing stuffiness and condensation in your tent.
How to Do It:
- Buy a USB-powered fan like the JISULIFE Portable Camping Fan, rechargeable via a solar power bank or portable charger.
- Hang the fan from the tent’s ceiling or place it on the floor, directing airflow toward mesh vents.
- Use sparingly to conserve battery, focusing on humid or warm nights.
Why It Upgrades Your Trip:
Improved ventilation keeps your tent cool and dry, creating a more comfortable sleep environment, especially in hot climates.

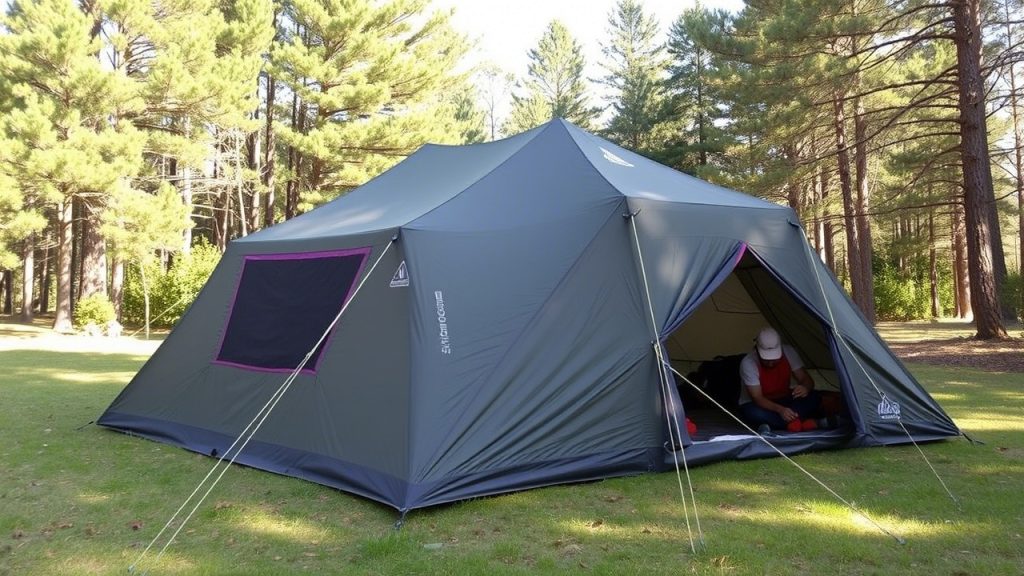
8. Create a Privacy Divider
A divider adds privacy in larger tents, making them ideal for families or groups sharing the space.
How to Do It:
- Choose a tent with a built-in divider (e.g., REI Co-op Wonderland 6) or hang a lightweight fabric panel (e.g., ripstop nylon or a bedsheet) using carabiners and tent loops.
- Ensure the divider doesn’t block ventilation or compromise the tent’s structure.
- Store the divider separately when not in use to save space.
Why It Upgrades Your Trip:
A divider creates separate sleeping areas, improving privacy and reducing disturbances for better rest.
9. Apply UV-Protectant Spray
UV rays can degrade tent fabric over time, causing it to weaken or fade. A UV-protectant spray slows this process, extending your tent’s lifespan.
How to Do It:
- Purchase a UV-protectant spray like Nikwax Tent & Gear SolarProof, designed for outdoor fabrics.
- Set up your tent in a shaded area, clean it with mild soap, and spray the protectant evenly on the rainfly and tent body.
- Reapply every 6-12 months, depending on sun exposure.
Why It Upgrades Your Trip:
UV protection preserves your tent’s durability, ensuring it remains reliable for years of camping adventures.
10. Add a Vestibule Awning
An awning over your tent’s vestibule creates a shaded, weather-protected area for gear storage or relaxation.
How to Do It:
- Use a tent with a built-in awning (e.g., The North Face Wawona 6) or attach a lightweight tarp to the vestibule using guylines and poles.
- Angle the awning to deflect rain and provide shade, securing it tightly to withstand wind.
- Store the tarp separately to avoid bulk when packing.
Why It Upgrades Your Trip:
An awning expands your usable space, keeping gear dry and creating a comfortable outdoor living area.
11. Incorporate a Rooftop Tent for Overlanding
Rooftop tents offer a quick, elevated shelter for overlanders, combining durability with off-grid convenience.
How to Do It:
- Choose a rooftop tent like the Roofnest Condor Overland, which mounts to your vehicle’s roof rack and sets up in minutes.
- Pair with a portable power station (e.g., Jackery Explorer 500) for off-grid lighting or device charging.
- Ensure your vehicle’s roof rack supports the tent’s weight (135 lbs. for the Condor).
Why It Upgrades Your Trip:
Rooftop tents simplify setup and provide a comfortable, elevated sleep platform, ideal for remote campsites.
12. Use a Tent Organizer for Clutter-Free Living
A tent organizer with pockets or shelves keeps essentials like keys, wallets, or toiletries off the floor and easily accessible.
How to Do It:
- Purchase a hanging organizer like the Kelty Camp Galley or make a DIY version with a mesh laundry bag and carabiners.
- Attach the organizer to the tent’s interior loops, ensuring it doesn’t obstruct headroom or vents.
- Use for lightweight items to avoid straining the tent fabric.
Why It Upgrades Your Trip:
A clutter-free tent feels more spacious and relaxing, making it easier to find gear and enjoy your camp.

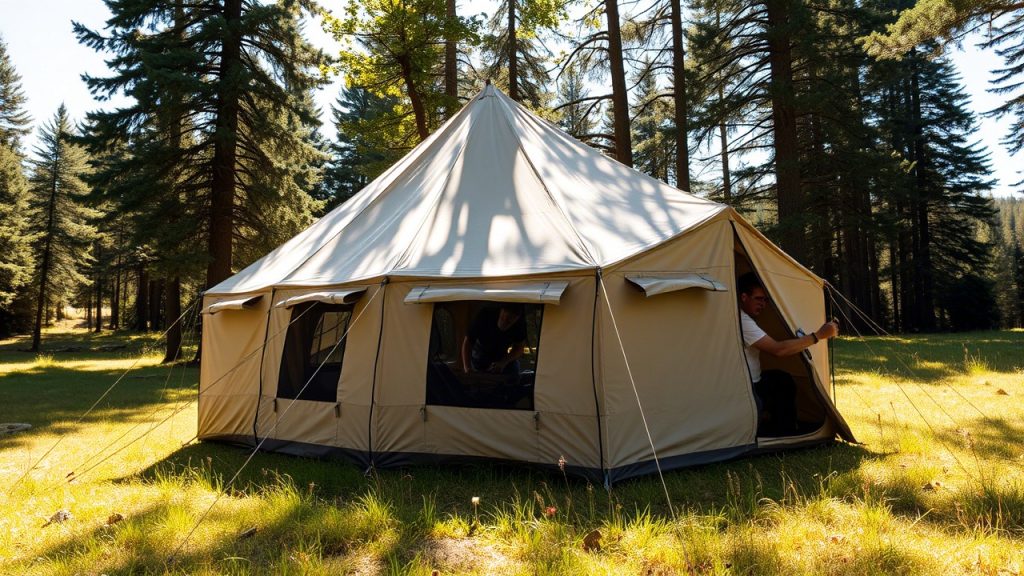
13. Add a Portable Stove for Indoor Cooking
For canvas or bell tents with a stove jack, a portable wood stove provides warmth and cooking capabilities, enhancing comfort in cold weather.
How to Do It:
- Choose a tent with a stove jack (e.g., WhiteDuck Regatta Canvas Bell Tent) and a compact stove like the Winnerwell Nomad Small.
- Install the stove following safety guidelines, ensuring proper ventilation and a heat-resistant mat beneath.
- Use locally sourced firewood and store it outside to keep the tent clean.
Why It Upgrades Your Trip:
A stove adds warmth and cooking convenience, creating a cozy, self-sufficient camp for extended trips.
Bonus Tips for a Better Camping Trip
- Test Your Setup: Practice pitching your upgraded tent at home to ensure all components work together.
- Clean Regularly: Wipe down your tent after each trip to remove dirt and sap, preserving its materials.
- Store Properly: Keep your tent in a cool, dry place in a breathable sack to prevent mildew.
- Pack Light: Balance upgrades with weight considerations, especially for backpacking.
- Check Weather: Plan upgrades based on expected conditions (e.g., UV spray for sunny trips, seam sealer for rain).
9 Frequently Asked Questions About Tent Upgrades
1. Why should I upgrade my tent instead of buying a new one?
Upgrading your tent is cost-effective and allows you to customize an existing model to your needs. Additions like seam sealer, a footprint, or a gear loft enhance performance without the expense of a new tent.
2. How often should I reapply seam sealer?
Reapply seam sealer every 1-2 years, depending on usage and exposure to rain. Check seams before major trips and reapply if you notice leaks or peeling.
3. Are heavy-duty stakes worth the investment?
Yes, heavy-duty stakes (e.g., MSR Groundhog) provide better stability in wind or tough ground, reducing strain on your tent. Titanium stakes are lightweight and ideal for backpackers.
4. Can I add a footprint to any tent?
Yes, you can use a custom footprint or cut a tarp to fit any tent. Ensure the footprint is slightly smaller than the tent’s base to prevent water pooling.
5. How do I choose the right sleeping pad for my tent?
For backpacking, pick a lightweight, high R-value pad like the Therm-a-Rest NeoAir XLite (12 oz.). For car camping, opt for a thicker pad like the REI Camp Dreamer for extra comfort.
6. Are solar-powered lights reliable for camping?
Yes, solar lights like MPOWERD Luci are reliable in sunny conditions and eco-friendly. Bring a backup battery-powered light for cloudy days or dense forest campsites.
7. Can I use a wood stove in any tent?
No, only use a wood stove in tents with a stove jack, like canvas bell tents (e.g., WhiteDuck Regatta). Follow safety guidelines to prevent fire hazards and ensure proper ventilation.
8. How do I prevent condensation with a fan in my tent?
Use a USB fan to improve airflow and choose a tent with mesh panels and vents. Pitch in an open area, keep the rainfly taut, and avoid cooking inside to minimize moisture.
9. Are rooftop tents practical for all campers?
Rooftop tents are best for overlanders or car campers with compatible vehicles (roof rack capacity 165+ lbs.). They’re less practical for backpackers due to weight and setup requirements.
Conclusion
Upgrading your tent is a game-changer for your next camping trip, turning a basic shelter into a comfortable, functional base camp. These 13 tent ideas—from waterproofing seams to adding a cozy wood stove—offer practical ways to enhance durability, comfort, and convenience.
Whether you’re sealing out rain, organizing gear, or creating a shaded awning, each upgrade makes your time outdoors more enjoyable. Tailor these ideas to your camping style, test your setup, and hit the trail with confidence. This month, take your tent to the next level and make your camping adventure unforgettable!
Happy camping!